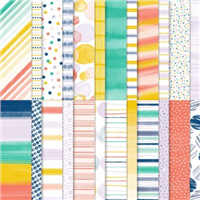
Weeeeeeeee! Another sneak peek of product from the Mini Catalogue which launches next week! Some of you may recognise the paper I have used in this project and that’s because it carried over from last year!
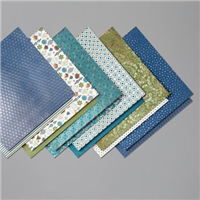
I absolutely adore this paper, every single pattern in the pack is gorgeous and I bought so much of it last year and used it for practically every gift I made boxes for. This year, I decided to make a box and mix it up with some other sets available. This box was made for my work colleagues last year, it housed trophies for award winners who had gone that extra mile for our customers.
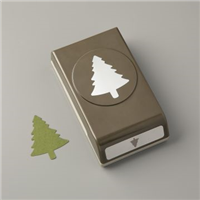
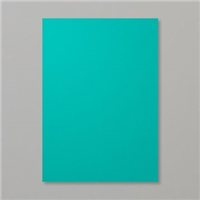
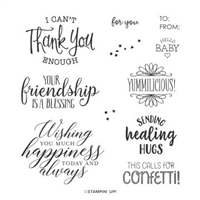
The box is made up of two sections, the copper foil inner section and a wrap on the outer made from the Brightly Gleaming Speciality Designer Series Paper (DSP). I decorated the box with a copper foil tree using the Pine Tree punch and finished with touches of Night of Navy in the sentiment and ribbon.
It makes a gorgeous box and an item I would love to receive if made by someone else.
Best Wishes,
Suzanne
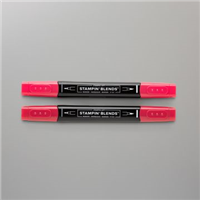
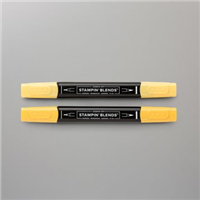
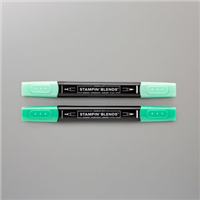
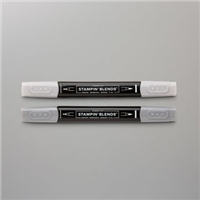
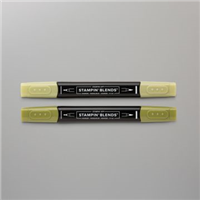
Colours Used:

Measurements:
- Designer Series Paper (DSP) = 111/2 x 21/4 inches
- Copper Foil = 61/2 x 91/2 inches
Scoring:
- Long Side (91/2): 21/4, 41/2, 63/4, 9 inches
- Short Side (61/2): 21/4, 31/4 inches
Supply List: