Succulent Contours

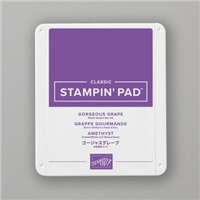
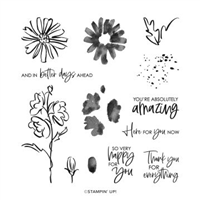
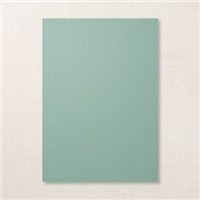
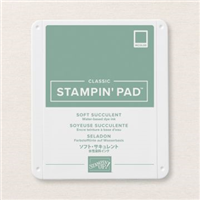
From the new 2021-2023 Incolors, I think Soft Succulent is my favourite. I’m not normally a green fan, but there’s something about the muted green shade that I simply cannot stop using. When the demonstrator pre-order opened up, the first things to go in my basket were the new incolor ink pads, card stock, ribbon and the Colors & Contours stamp set.

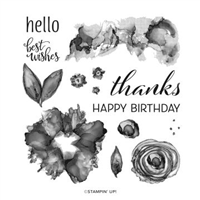
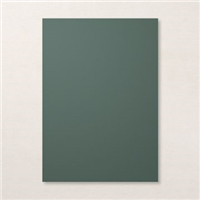
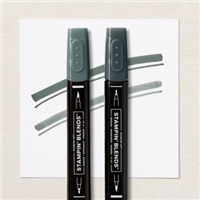
I teamed Soft Succulent up with another green shade from the new Incolors, Evening Evergreen, acting as an accent colour for the stamped layer and sentiment. I know you don’t get many green flowers, but I wanted to keep my card to just the two colours (and white).

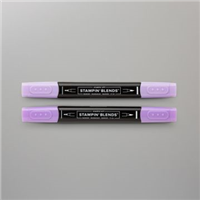
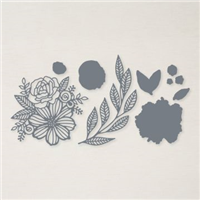
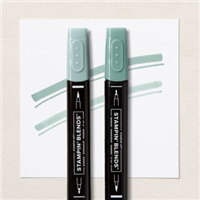
In the stamp set, you do get both the outline stamps and the inner shading – but I chose to colour mine in using Stampin’ Blends. Keeping it quite simple so that the main card base would be the focal point using some tone on tone stamping. I think it has come together pretty well.

What is your favourite colour from the New 2021-2023 set?

I hope you’ve enjoyed todays project.

Best Wishes,

Details below are for the colours and products used in my project today. Please remember, if you purchase from my store to add the host code (displayed in the top right sidebar) for orders under £150.

Details below are for the colours and products used in my project today. Please remember, if you purchase from my store to add the host code (displayed in the top right sidebar) for orders under £150.

Colours Used:

Supply List:

Please take the time to follow my blog, subscribe to my Youtube channel or visit me over on Facebook at Crafty Hullahbaloo, where you can share your inspiration too.

Simple Sunday #15 – Puffin Party

Welcome to my new Sunday series, affectionately known as Simple Sunday! The aim of this series is to showcase projects using minimal supplies, ideal for the beginner crafter or someone new to Stampin’ Up! Each project is a white card base with a 3×3 panel decorated using a single stamp set or die set. This week’s project features Puffin Party stamp set which you can purchase from the 2021 Annual Catalogue.

Aren’t the puffins so cute? They’re so adorable, especially this little guy who is clearly in the party mood. As is the theme every Sunday, I like to keep things simple to show that you don’t need a craft room full of items to make pretty cards. Each of the images have been stamped with the same Memento ink pad – which is the best ink for using alcohol markers. Then just two colours of Stampin’ Blends, Balmy Blue and Daffodil Delight.

As this stamp set isn’t part of a bundle, I’ve shown how you can achieve a similar look by using your scissors to fussy cut around the image. Popping them up on dimensionals to give some impact to the card. Doesn’t he look so happy with his party hat and cake?

And the best part about this card? You can switch out the colours, the stamp set or sentiment to make completely different designs each time!

Best Wishes,

Details below are for the colours and products used in my project today. Please remember, if you purchase from my store to add the host code (displayed in the top right sidebar) for orders under £150.

Details below are for the colours and products used in my project today. Please remember, if you purchase from my store to add the host code (displayed in the top right sidebar) for orders under £150.

Colours Used:

Measurements:

  • Designer Series Paper = 6 x 6 inches
  • Belly Band = 6 x 11/2 inches
  • Scrap for stamping & flowers

Scoring:

  • Notch @ 2, 3, 4 inches on all four sides.
  • Join the notches each with a score line diagonally (see video)

Supply List:

Please take the time to follow my blog, subscribe to my Youtube channel or visit me over on Facebook at Crafty Hullahbaloo, where you can share your inspiration too.

Elegant Cubes

Sometimes you just need a project that you can put together in a short amount of time as you have a last minute gift you need or perhaps you’re working in bulk. Stampin’ Up! sell some gorgeous pre-made boxes ready for you to construct and decorate in any way you please. Today’s project uses the Simply Classic Treat Boxes which come with a white bottom and gold cube top, perfect as they are if you don’t wish or have time to decorate.

As the Gold co-ordinates perfectly with the Simply Elegant Designer Series Paper, I used that to decorate the panels on the top lidded section of the boxes. TIP: To get the Designer Series Paper to fit snug on the top panel of the box, you will need to punch a hole in the centre and feed the ribbon tag through. I show you how to do this in my tutorial below.

On the first sample, I made an error and used a ‘Thanks’ sentiment from the Hand-Penned Petals stamp set – I like how it looks, but I wanted to make sure I used everything from the same suite / bundle, so in my video I have used a ‘For You’ from the Elegantly Said stamp set. I love both of them, so just shows how versatile you can be!

To add a little more co-ordination, I included a small ribbon of Gold Trim and a Gold Metallic Pearl – love it. The best bit? This was made in approx. 15 minutes – great for bulk production!

Best Wishes,

Details below are for the colours and products used in my project today. Please remember, if you purchase from my store to add the host code (displayed in the top right sidebar) for orders under £150.

Details below are for the colours and products used in my project today. Please remember, if you purchase from my store to add the host code (displayed in the top right sidebar) for orders under £150.

Colours Used:

Measurements:

  • Designer Series Paper = 6 x 6 inches
  • Belly Band = 6 x 11/2 inches
  • Scrap for stamping & flowers

Scoring:

  • Notch @ 2, 3, 4 inches on all four sides.
  • Join the notches each with a score line diagonally (see video)

Supply List:

Please take the time to follow my blog, subscribe to my Youtube channel or visit me over on Facebook at Crafty Hullahbaloo, where you can share your inspiration too.