Everybody loves getting more value for their money – which is what this project originally was themed around. I had started to make a One Sheet Wonder and got about 6 cards in when I didn’t like how the remaining few would look, so I stopped. The pictures of the other cards haven’t made it onto my blog today and I’m still a little undecided whether they should.

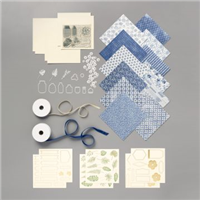
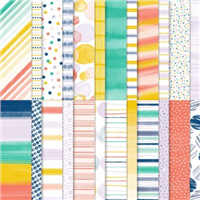
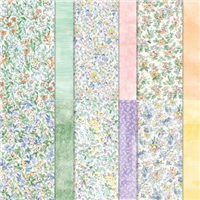
So whilst I’m unsure on the other pics, and the fact my One Sheet Wonder didn’t work, I did get to play around with the new Hand Penned paper. It is absolutely gorgeous – if you’re not a fan of the flowers then the opposite side with its muted subtle shades and less busy patterns will suit better.
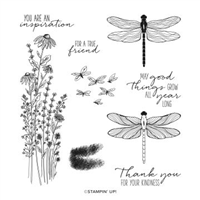
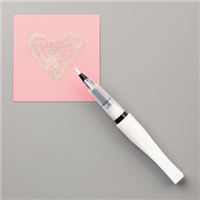
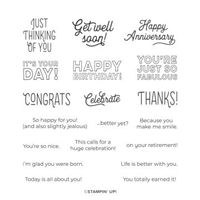
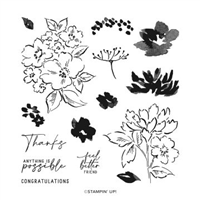
Once the paper was added to my card bases, I finished it off with some stamping, fussy cutting around my sentiments and finishing off with the most gorgeous bee embellishments (if you don’t have them, you seriously need them – they are so cute!)

How amazing is this suite of Designer Series Paper and stamps?
I hope you’ve enjoyed today’s project.
Best Wishes,

Details below are for the colours and products used in my project today. Please remember, if you purchase from my store to add the host code (displayed in the top right sidebar) for orders under £150.
Details below are for the colours and products used in my project today. Please remember, if you purchase from my store to add the host code (displayed in the top right sidebar) for orders under £150.
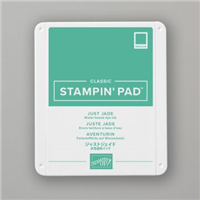
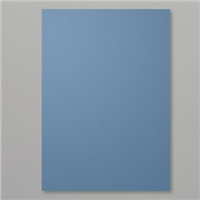
Colours Used:
Supply List:


Please take the time to follow my blog, subscribe to my Youtube channel or visit me over on Facebook at Crafty Hullahbaloo, where you can share your inspiration too.