Shimmering Incolor Birthday

Whoop! Everyone loves a project with something that shimmers, right? I know I do. What’s more, it’s one of the new colours and it uses a full sheet to showcase the gorgeousness (that’s a word) of the paper. The new Incolor Shimmer paper is beautiful and whilst my photos don’t quite capture just how beautiful it is, my video certainly does – so be sure to watch it!

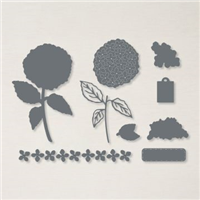
The colours within the new 2021-2023 Incolors are absolutely gorgeous and so no great work is required to make a project look stunning – I decided to team mine up with the Artistic Dies and the Tailor Made tags, keeping them as basic as possible to let the paper do all the talking.

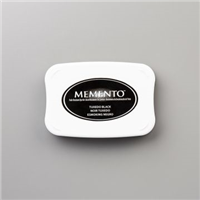
To help stick the gorgeous leaf motif from the Artistic dies, I used the Adhesive Sheets. It prevents all the mess that can be made when trying to get liquid glue in the right places. Then to give the label a bit of ‘pop’ and tie it in with the colour scheme, I’ve added some of the co-ordinating ink around the edges with a blending brush.

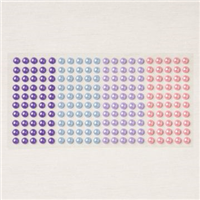
…and no bag is finished without some bling on there, so the Silver and Clear Epoxy essentials give it a gorgeous finish. In the video I make a Pale Papaya version – which do you prefer?

Best Wishes,

Details below are for the colours and products used in my project today. Please remember, if you purchase from my store to add the host code (displayed in the top right sidebar) for orders under £150.

Details below are for the colours and products used in my project today. Please remember, if you purchase from my store to add the host code (displayed in the top right sidebar) for orders under £150.

Colours Used:

Measurements:

  • Designer Series Paper = 6 x 6 inches
  • Belly Band = 6 x 11/2 inches
  • Scrap for stamping & flowers

Scoring:

  • Notch @ 2, 3, 4 inches on all four sides.
  • Join the notches each with a score line diagonally (see video)

Supply List:

Please take the time to follow my blog, subscribe to my Youtube channel or visit me over on Facebook at Crafty Hullahbaloo, where you can share your inspiration too.

Boho Blue

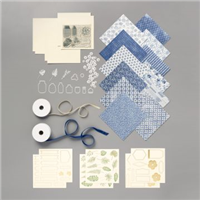
I’ve said it before and I will say it again, Product Medleys are amazing. The Stampin’ Up! Annual Catalogue offers one of my favourite ones in Boho Indigo, not only do you get everything you well need except ink and glue in a single product, but you can buy refill kits to continue making more and more and never run out. With stamps, dies, designer series paper (DSP), embossed card, ribbon & pop outs, there is lots for you to work with and make a variety of projects.

It features one of my favourite colours, Misty Moonlight and pairs it up with Very Vanilla (which isn’t featured enough in my opinion), with gold and green accents in the popups and ribbon.

So, aside from adding a couple of ink pads and picking an adhesive, you receive everything to get you going on your craft journey – perfect for beginners. If you search my website using the tag #bohoindigo you will be able to see exactly what I have made with the set!

Are you a beginner crafter that isn’t sure how to start making cards? Let me know..

Best Wishes,
Suzanne

Colours Used:

Supplies:

Hydrangea Happy Pouch

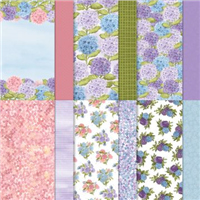
Stampin’ Up! really do design and make some absolutely gorgeous suites and thanks to the colour families they have, the embellishments and ribbon etc are always the most divine colour ways. The Hydrangea Heaven suite has to be one of the best examples for this in my opinion – I’m a purple fan, so this really floats my boat!

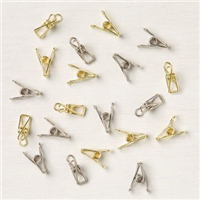
The papers are beautiful designs featuring Hydrangeas, with this pattern in particular grabbing my attention for a more subtle project. Of course, I also included the Clever Clasps which if you don’t look carefully in the Mini Catalogue you may miss entirely!

Isn’t the paper just divine? And I’m so happy about Stampin’ Up! bringing a clasp / clip back into the catalogue. I miss the pegs / clips from previous years as they’re such an easy and quick way to close a bag without struggling to tie a bow.

Did you spot the Clever Clasps in the catalogue?

Best Wishes,
Suzanne

Colours Used:

Measurements:

  • Designer Series Paper = 91/2 x 63/4 inches
  • Basic White scrap

Scoring:

  • Long side = 11/2, 41/2, 6, 9 inches
  • Short side = 11/2 inches

Supplies:

Well Suited Hooray

Coming up in the new Jan to June Mini Catalogue, there is a suite that is completely male orientated and I can’t get enough of it! I’m absolutely rubbish at making cards for men no matter what the occasion is. So for those of you who like me, you’re in for a great surprise when the catalogue goes live on 5th January.

The suite contains stamps, dies, paper and twine and is perfectly co-ordinated in the usual Stampin’ Up! style. Perfect for any crafter as it means you spend less time finding the ‘right’ shade of any colour.

This tapered top box is made using Night of Navy, but in my Youtube tutorial I have switched things up and used Basic Black – which turned how far better than I ever expected. By doing different colour combos on camera, I’ve learnt to just go with it and has really surprised myself.

The box is decorated with paper from the suite, but with a sentiment from a new stamp set called ‘You are Amazing’ which features in the Mini Catalogue. It fits perfectly into the Stitched Square I chose and sit’s nicely centred on the front. A touch of ribbon and the project looks gorgeous and ready to gift.

Which colour / pattern do you prefer?

Best Wishes,
Suzanne

Colours Used:

Measurements:

  • Cardstock = 81/4 x 111/2 inches
  • Designer Series Paper = 21/2 x 21/2 inches (4 pieces)
  • Designer Series Paper = 21/4 x 21/4 inches (4 pieces)
  • Whisper White Scrap

Scoring:

  • Long Side = 23/4, 51/2, 81/4, 11 inches
  • Short Side = 23/4, 51/2
  • NOTCH the long side = 13/8, 41/8, 67/8, 95/8 inches
  • MARK the Designer Series Paper = 11/4 on all four pieces

Supplies:

Come back for these after the 5th January and they will be live!

Alternate Artistry Domed Box

OK, so I’m a little bit addicted to making these domed boxes. So much so, I’m here with a different version today. Following on from my TFI Friday Live Crafting last week, where I made one of these boxes with a single piece of Designer Series Paper (DSP), I’m back with a cardstock and DSP version.

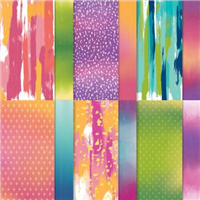
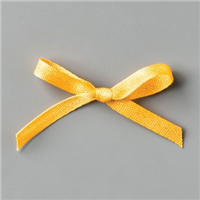
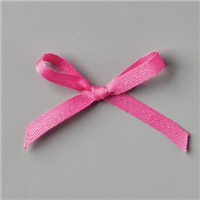
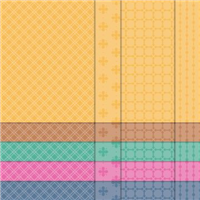
This time I reached for the bright colours of the Artistry Blooms paper pack. My sample focused on Magenta Madness, whilst my video showcases Bumblebee – both colours from the 2020-2022 collection.

They’re a good size for treats, sweets, jewellery, wax melts, bath bombs, candles… the list is endless. BUT a tip – put the heavier goodies in the cardstock version so you benefit from the stronger base.

I absolutely love the ombre side of the papers included in the Artistry Blooms pack, and they have been used many times as they’re gorgeous. The picture above should show you just how gorgeous they are.

I finished off the box with co-ordinating ribbon and felt they didn’t need any decoration. I’ll keep this ready to use and decorate when I know the occasion they’re to be used for.

Which colour do you prefer?

Best Wishes,
Suzanne

Measurements:

  • Two pieces cardstock = 61/2 x 31/4 inches
  • Two pieces DSP = 61/2 x 2/34 inches

Scoring:

  • Cardstock
    • Long side = 23/4 inches
    • Short side = 1/4, 15/8 (partial score), 3 inches
  • Designer Series Paper
    • Long side = 23/4 inches
    • Short side = 13/8 inches (partial score)

Supplies: