Snowflake Domed Splendor

Hands up, how likes an abnormal shaped box? Or something that is a little different to the norm? Well, today’s project is certainly along those lines. Now I’m not the first person to make a box like this, and I’ve seen far too many to credit a single person. So I thought I’d try my own version – these are quite a large size, and will fit a good quantity of treats.

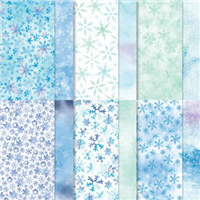
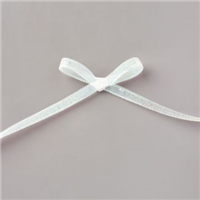
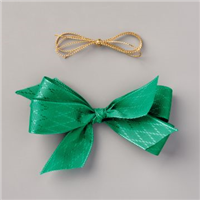
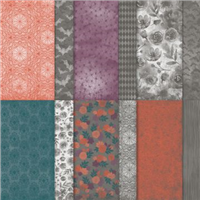
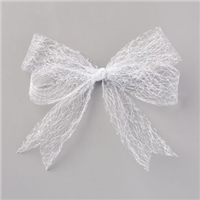
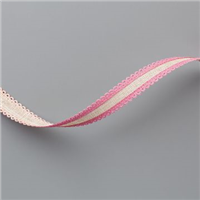
I haven’t used the Snowflake Splendor Designer Series Paper (DSP) in a while and it is such beautiful paper, that I reached out for it again. The colours are absolutely gorgeous and so is the matching ribbon. The picture below shows the iridescent sheen to the ribbon, which makes it sparkle against any project.

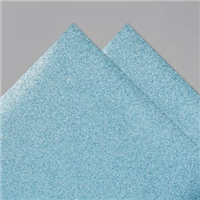
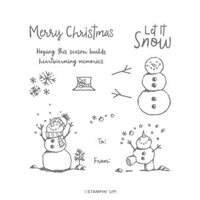
I finish my project off with a tag made from Balmy Blue glimmer paper and a Whisper White stitched circle. The stamp is from the cute Snowman Season stamp set and finished the label well.

Which pattern do you prefer – the watercolour ombre one or the snowflakes?

Best Wishes,
Suzanne

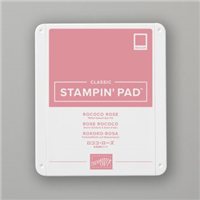
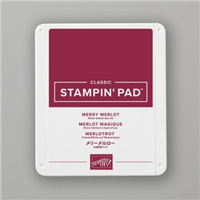
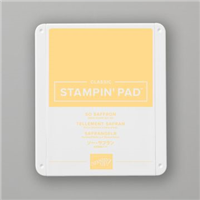
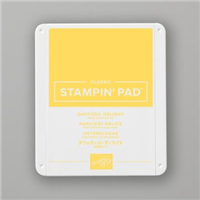
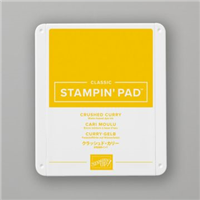
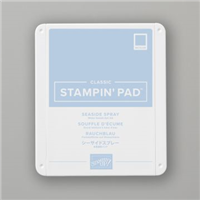
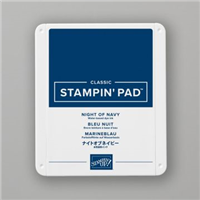
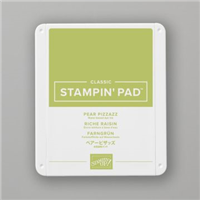
Colours Used:

Measurements:

  • Designer Series Paper = 111/2 x 61/2 inches
  • Whisper White Scrap
  • Balmy Blue Glimmer Scrap

Scoring:

  • Long Side Full Scores = 23/4, 51/2, 81/4, 11 inches
  • Short Side Full Scores = 23/4 inches
  • Long Side Partial Scores = 13/8, 41/8, 67/8, 95/8 inches

Supplies:

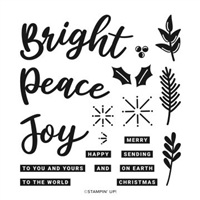
Joy to the World

Eek! It’s October – how did that happen? The nights are already drawing in and the clocks will change soon also. Most would see that as a negative, but I absolutely love it. I love the run up to the events during this time of year – Halloween, Bonfire Night, Christmas etc. So I thought it was time I cracked out the foil and make some full blown Christmas projects.

Today’s is a slimline pocket pouch, a great size for small bags of sweeties or perhaps small chocs such as Green & Blacks. Ideal for table favours, part of a hamper treat selection or in the stocking on Christmas Eve.

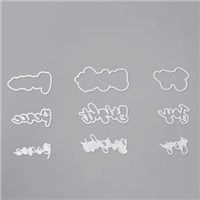
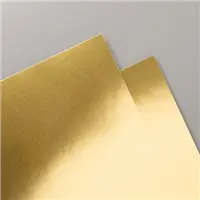
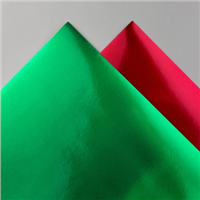
The word ‘joy’ on the front is made from the dies of the same name using two different foils. The dies come with three separate segments to make up the wording, however I chose to only use two for this project.

And of course, I had to break out the Wonder of a Season ribbon combo and do the double ribbon bow tie that I previewed when I first got my initial order from the Autumn / Winter catalogue.

What do you think would fit nicely into this pouch?

Best Wishes,
Suzanne

Colours Used:

Measurements:
  • Cardstock = 8 x 4 inches
  • Green Foil Scrap
  • Gold Foil Scraps
  • Whisper White Scrap

Scoring:
  • Long side (8″) = 33/4 x 41/4 inches
  • Short side (4″) = 1/2 inch on both sides

Supply List:

Blackberry Oval Box

Birthday Party Live – Project #5

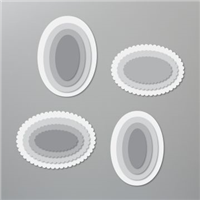
So, back in July you saw me make a cylindrical box using the Layering Circles dies – this time I’ve made an oval box using the same method and I think I prefer the oval to the circle! Made in my absolute favourite colour, Blackberry Bliss and decorated with Halloween goodies, this box is a great size. It uses the largest die of the Layering Ovals set to form the template for the lid and the base, and just like the cylinder box the lid sits flush.

In last night’s live stream, I made another in a different colour way but still highlighting the gorgeous Magic in this Night suite from Stampin’ Up! The papers have got to be the best set of Halloween papers I’ve seen Stampin’ Up! do – I know, I say that every year!

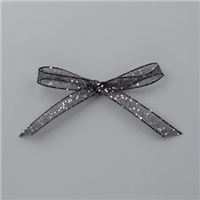
Once again, I’ve brought out the iridescent pearls and the glittered organdy ribbon. But they’re so perfect for a Halloween inspired project, that I would be insane not to!! Which one do you prefer? Blackberry Bliss or Pretty Peacock?

** Don’t forget to take part in my Birthday Party Giveaway **

Good Luck!

Best Wishes,
Suzanne

Colours Used:

Measurements:

  • Outer Base Piece = 21/2 x 101/4 inches
  • Inner Base Piece = 23/8 x 11 inches
  • Designer Series Paper Base = 13/4 x 11 inches
  • Lid Piece = 11/4 x 101/4 inches
  • Designer Series Paper Lid = 1/2 x 11 inches
  • Ovals (4) = 27/8 x 33/16 inch Oval Die
  • Designer Series Paper Oval = 23/8 x 35/16 Oval Die

Scoring:

  • Outer Base Piece
    • Short Side (21/2) = 1/2 inch
    • Long Side (101/4) = Every 1/2 inch to the first score line
  • Lid Piece
    • Short Side (11/4) = 1/2 inch
    • Long Side (101/4) = Every 1/2 inch to the first score line

Supply List:

.

Halloween Magic

HalloweenMagic_Pic

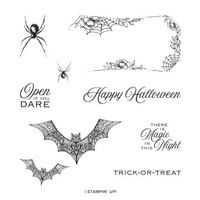
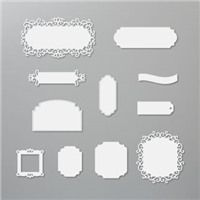
This year’s Halloween paper is absolutely gorgeous and whilst Halloween is still almost two months away, I find myself using it again and again (you’ll see it make an appearance in my Birthday Party Live Week). For this project, I wanted to showcase the gorgeous bats and the giant label you get as part of the stamps and dies, so a large box was the perfect solution.

The large bat on this project was the first item I used when I received my Mini Catalogue pre-order, the fact that the dies fit around the Designer Series Paper (DSP) patterns is a great added bonus and I love how these bats look when they’re cut out.

I went quite simple with the box design so that the paper and the decoration could take centre stage. The Metallic Mesh ribbon is perfect for this project with its almost spiderweb appearance – but could be a great addition on Christmas projects too.

Finally, a bit of blends colouring on the label brings it all together. The box is large enough to fit numerous treats – perhaps to give to children out trick treating? Or as a table gift at a Halloween party? What do you think? I hope you like it. #

Best Wishes,
Suzanne

Colours Used:

Measurements:

  • Cardstock = 8 x 11 inches.
  • Designer Series Paper = 6 x 9 inches.

Scoring:

  • Base (Cardstock): 2 inches on all four sides.
  • Lid (Designer Series Paper): 1 inch on all four sides.

Supply List:

Blends Gift Box

FloralPenBox_Pic

I am absolutely loving my TFI Crafty Friday Lives – it’s nice to be online, crafting with like minded friends sharing ideas and inspiration. Hosted on Facebook at 7:30 every Friday, I bring a new project and showcase the items used to make it. Yesterday, I made this gorgeous gift box which holds 10 Stampin’ Blends pens.

I was inspired by the amazing Helzie over @ SlimmandStylish.com who used the ‘All Things Fabulous’ stamp set during a Youtube Live. It was a set that I had skipped past when I looked through the catalogue and hadn’t really paid much attention to it. Then I saw Helzie use it and immediately loved the dimension you get from the triple stamping.

It’s an amazing set to use to make your own version of Designer Series Paper (DSP) and you get a different result every time and because they’re stamps, you can change up the colours as you wish. As you’ll see on my video below – I switched the colours round to suit the feature colour of the box.

I love it – and the box is a great way to gift a set of blends (or other stationery) to a friend or family member.

Best Wishes,
Suzanne


Colours Used:

Colors

Measurements:

  • Lid and Base = 81/4 x 73/4 inches
  • Coloured Cardstock for Lid = 6 x 61/2 inches
  • Whisper White for Lid = 61/4 x 53/4 inches

Scoring:

  • Base and Lid = ¾ on all sides (using a shim for the lid piece)

Supply List: