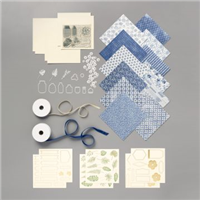
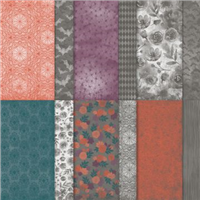
Stampin’ Up! make simple cards so easy – the products in the Annual Catalogue are beautiful and co-ordinate with one another perfectly. To make life even easier, they bring together Product Medleys – one of which is used in this project. The Boho Indigo product medley is gorgeous, full of floral patterns, shades of blue and finished with gold accents.
This card uses three simple items from that medley – a piece of Designer Series Paper, a gold edged die cut for a sentiment and two gold pop out die cuts for decoration. All I added was the card base and stamp a sentiment – which is ideal for those last minute cards that are needed or for someone who is new to crafting and isn’t sure where to start.
But I think you would agree – Boho Indigo makes great projects every time?
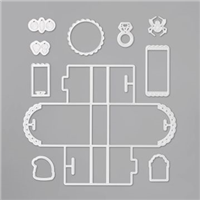
I love when Stampin’ Up! release dies that make cute little boxes such as the new Little Treat Box dies that are available. They are great when you are struggling to bring a box together for a project and mean you don’t have to work out the measurements before making it. This cute die is meant for a small treat, perhaps a small treat bar or some biscuits?
The treat box size is quite narrow, so does limit the treats that go inside it – however, I adapted mine to have two slots, so double the treats!! Who could say no to that?
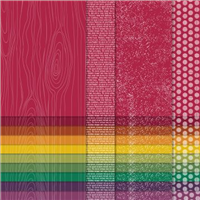
To make the project does require two sheets of 6 x 6 Designer Series Paper, but it’s well worth it in my opinion. I chose to make mine from the Regals paper stack, but this could be very easily adapted to suit any occasion. A Christmas Designer Series Paper stack would be perfect with a few stocking filler treats inside – perhaps some chocolate coins?
This project means that there is only one left of my Birthday Party Live Event, I’ll be sad to see it end…
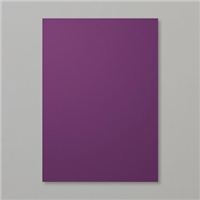
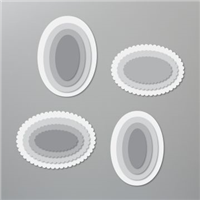
So, back in July you saw me make a cylindrical box using the Layering Circles dies – this time I’ve made an oval box using the same method and I think I prefer the oval to the circle! Made in my absolute favourite colour, Blackberry Bliss and decorated with Halloween goodies, this box is a great size. It uses the largest die of the Layering Ovals set to form the template for the lid and the base, and just like the cylinder box the lid sits flush.
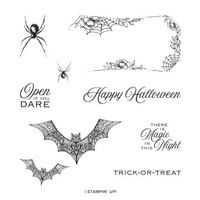
In last night’s live stream, I made another in a different colour way but still highlighting the gorgeous Magic in this Night suite from Stampin’ Up! The papers have got to be the best set of Halloween papers I’ve seen Stampin’ Up! do – I know, I say that every year!
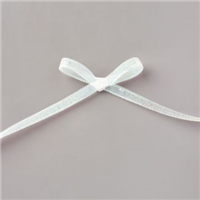
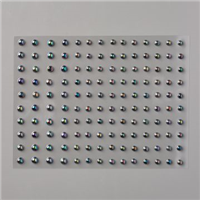
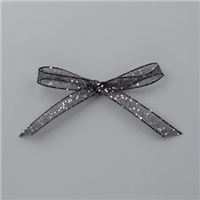
Once again, I’ve brought out the iridescent pearls and the glittered organdy ribbon. But they’re so perfect for a Halloween inspired project, that I would be insane not to!! Which one do you prefer? Blackberry Bliss or Pretty Peacock?
Yesterday was my birthday, so I had to make sure the project done on my birthday was a special one. Neverending cards have been around for some time – they’re certainly nothing new BUT I have never tried to make one myself, so what better occasion?
I went for one of my favourite colours for the first one – Cherry Cobbler and teamed it up with the Regals 6″x6″ Designer Series Paper stack. This alone gave some nice texture / difference on the differing sections of the card. To decorate it, I used a multitude of dies available in my collection, stamping any sentiments or images with matching Cherry Cobbler ink.
The second one in the video below was made in exactly the same way, except this time I used Bermuda Bay card stock and Designer Series Paper. Now, I just have to overcome my addiction to making them then sitting there flipping them round and round and round again!
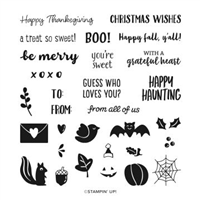
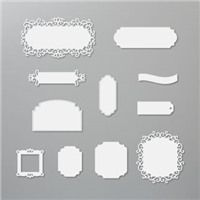
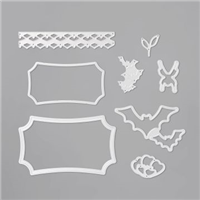
This year’s Halloween paper is absolutely gorgeous and whilst Halloween is still almost two months away, I find myself using it again and again (you’ll see it make an appearance in my Birthday Party Live Week). For this project, I wanted to showcase the gorgeous bats and the giant label you get as part of the stamps and dies, so a large box was the perfect solution.
The large bat on this project was the first item I used when I received my Mini Catalogue pre-order, the fact that the dies fit around the Designer Series Paper (DSP) patterns is a great added bonus and I love how these bats look when they’re cut out.
I went quite simple with the box design so that the paper and the decoration could take centre stage. The Metallic Mesh ribbon is perfect for this project with its almost spiderweb appearance – but could be a great addition on Christmas projects too.
Finally, a bit of blends colouring on the label brings it all together. The box is large enough to fit numerous treats – perhaps to give to children out trick treating? Or as a table gift at a Halloween party? What do you think? I hope you like it. #
Best Wishes, Suzanne
Colours Used:
Measurements:
Cardstock = 8 x 11 inches.
Designer Series Paper = 6 x 9 inches.
Scoring:
Base (Cardstock): 2 inches on all four sides.
Lid (Designer Series Paper): 1 inch on all four sides.