Gleaming Christmas

GleamingChristmas_Pic

Weeeeeeeee! Another sneak peek of product from the Mini Catalogue which launches next week! Some of you may recognise the paper I have used in this project and that’s because it carried over from last year!

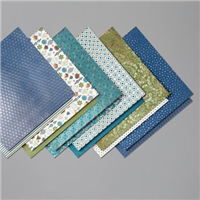
I absolutely adore this paper, every single pattern in the pack is gorgeous and I bought so much of it last year and used it for practically every gift I made boxes for. This year, I decided to make a box and mix it up with some other sets available. This box was made for my work colleagues last year, it housed trophies for award winners who had gone that extra mile for our customers.

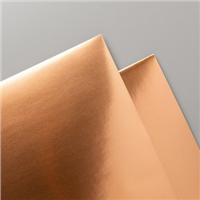
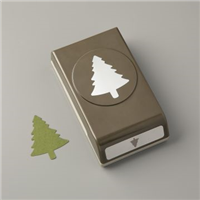
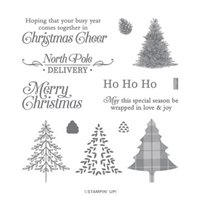
The box is made up of two sections, the copper foil inner section and a wrap on the outer made from the Brightly Gleaming Speciality Designer Series Paper (DSP). I decorated the box with a copper foil tree using the Pine Tree punch and finished with touches of Night of Navy in the sentiment and ribbon.

It makes a gorgeous box and an item I would love to receive if made by someone else.

Best Wishes,
Suzanne

Colours Used:

Colors

Measurements:

  • Designer Series Paper (DSP) = 111/2 x 21/4 inches
  • Copper Foil = 61/2 x 91/2 inches

Scoring:

  • Long Side (91/2): 21/4, 41/2, 63/4, 9 inches
  • Short Side (61/2): 21/4, 31/4 inches

Supply List:


Way to Go!

WaytoGo_Pic

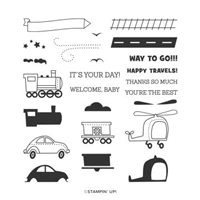
Some evenings, my children and I like to stamp images which can be coloured in with Stampin’ Up! blends and just spend some time colouring together. This card uses the ‘Moving Along’ stamp set and a set of images based on vehicles. We spent some time colouring them and adding bits of details such as tracks, roads and stars (which double up as steam from the train – because why not?!).

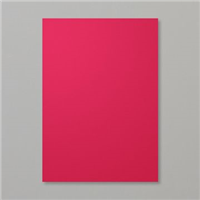
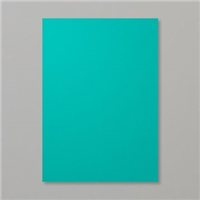
We cut the vehicles out separately and mounted them onto a base of Whisper White, but felt this would be too plain so introduced an additional layer of Bermuda Bay. Our card base is Real Red, which I think contrasts beautifully with the Bermuda Bay.

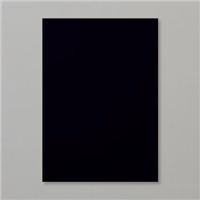
To finish the card off and give it a bit of dimension, we stamped onto Basic Black and heat embossed it in white. My boys went on to drop little stick men parachuting from their helicopter – which is so cute!

Are you a colouring person?

Best Wishes,
Suzanne

Colours Used:

WayToGo

Supply List:


Cylindrical Treat Box

cylindrical_christmas

It’s not often that you see a Cylindrial box, in the almost 5 years that I have been a demonstrator with Stampin’ Up! I have seen plenty of cuboid, cubes, slopey lids, hexagons, octagons etc but very rarely have I seen a cylinder.

I like to challenge myself every now and again, so decided it was time to see if I could bring one together that could be replicated dozens of times. I’m happy to say that I think I’ve achieved this and not only is today’s project a cylindrical box, it is a flush lidded cylinder box.

The treat box uses one of the larger circles from the Layering Circles dies to help form the base and the lid, with a technique shown in my video to help curve the card and stop it from kinking. The box in the video is a Halloween version, but I just love the Christmas one in the photo above too.

The below tutorial was filmed during my TFI Crafty Friday Facebook Live, in which some of the measurements I listed were for a different size box.  To make a box the same as the image above you will need to follow the measurements lower down on this post.

Please have a go at making your own and if you have instagram, please tag them with #yourfavouriteyorkshiredemo or #hullahbaloo so that I can come see them!

Enjoy!

Best Wishes,
Suzanne

Measurements:

  • Cardstock:
    • 1 piece = 85/8 x 21/2 inches
    • 1 piece = 85/8 x 13/4 inches
    • 1 piece = 811/16 x 11/4 inches
  • Designer Series Paper:
    • 1 piece = ½ x 811/16 inches
    • 1 piece = 1½ x 811/16 inches
  • Die Cuts:
    • 4 circles = 23/4 inches
    • 1 DSP circle = 21/2 inches

Scoring:

  • Score both the 85/8 x 13/4 and 811/16 x 11/4 inches at ½ inch on the short sides.
  • Then every ½ inch on the long side with the ½ inch section at the top.


Artistry Pumpkin Boxes

20200619_210307555_iOS 2

Happy Monday! As a lot of us are back in front of our computers for our day jobs, potentially working from home given the current circumstances, I wanted to show you this project which was gifted to my work team as a thank you for their support during lockdown so far. Each and everyone one of my colleagues have had to drastically change their working patterns, practises and even working spaces to adopt and adapt to the working from home lifestyle that Covid-19 has introduced.

I wanted these boxes to be a surprise treat in the post to say thank you but with a personal touch.

Colours Used:

ArtistryBox

Measurements:

  • Designer Series Paper = 51/2 x 33/4 inches

Supply List:
 

Derwent Pencil Box

20200712_074617477_iOS 1

Hello everyone, hope you are having a good weekend! Thank you to everyone who joined me on my Facebook Live yesterday, where we made a birthday box for a set of Derwent Pencils. This gorgeous box fits a tin of 6 Derwent pencils, a lovely gift for any occasion.

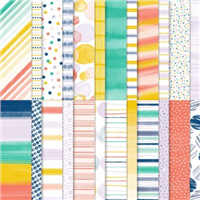
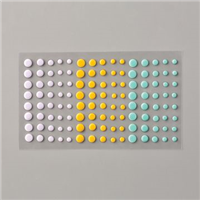
This project heavily features the Playing with Patterns suite using the Designer Series Paper, a ribbon from the combo pack & the Resin Dots. I kept the box simple, letting the decoration speak for itself. The paper pattern I chose allowed me to use one of five colours, so I went with Coastal Cabana.

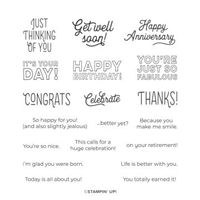
The ‘Happy Birthday’ sentiment from the Many Mates stamp set fits nicely into the 2″ circle, leaving room for some embellishments and a pretty to finish off the decoration. My daughter was very pleased with the end product, gifting the box to one of her friends.

What do you think?

Best Wishes,
Suzanne

Colours Used:
Colors (4)

Measurements:

  • Cardstock = 111/4 x 71/4 inches
  • Designer Series Paper = 2 pieces 41/4 x 23/8 inches
  • Scraps of Coastal Cabana & Whisper White for the sentiment

Scoring:

  • Long Side (111/4”): ½, 11/4, 10, 103/4 inches
  • Short Side (71/4): ½, 11/4, 37/8, 45/8 inches

Supply List: