Coming Home to You

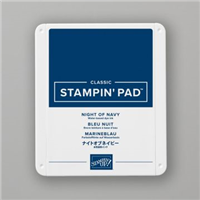
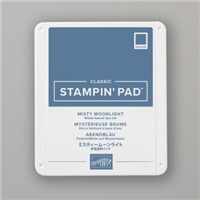
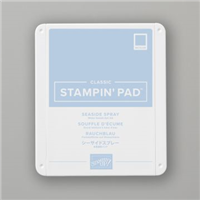
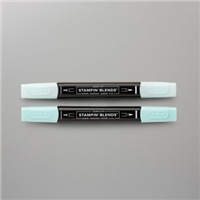
I love trying out new techniques and whilst I have done sponging before, I’ve never paired it up with masking at the same time. So I thought I would give it a shot! The moon on this card was masked prior to sponging the gorgeous shades of blue background, to give the effect of a night sky and I absolutely love the results!

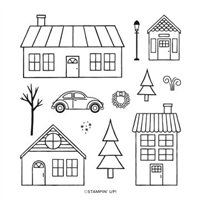
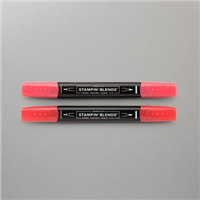
I teamed my background up with the Coming Home stamp set, using blends to colour in the images (of course!) and then layered them up on the front to create a cute little scene. I am such a fan of these little houses and trees.

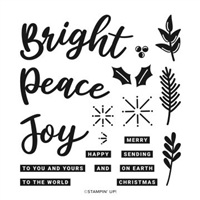
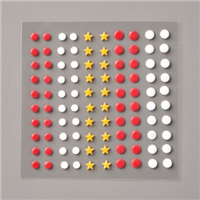
When I had finished the scene, I picked a message from the Peace & Joy stamp set and finish the night sky with the little stars from the All the Trimmings embellishments. Which I think finishes the card front off perfectly! What do you think?

Best Wishes,
Suzanne

Colours Used:

Supplies:

Gleaming Selection Box

I think I am well and truly getting into the Christmas spirit now – the second lockdown that the UK currently faces has almost pushed me into getting organised and so my projects have turned to Christmas treats for my team at work. Every year, they get a box (or bag) of handmade gifts from me as a Christmas present usually including something tasty and something they can put to use in their role.

This gorgeous box is a selection box and houses four different mini chocolate bars (multipack size). Rather than building segments into the base, I have created four separate mini boxes and then housed them with a single lid. The Brightly Gleaming paper has to be one of my ultimate favourites and I will be sad to stop using this paper when the Mini Catalogue comes to an end. However, whilst its still here, I will continue to use it as much as I can (and quite possibly buy more!)

What chocolates would you house in a box like this? Let me know…

Best wishes,
Suzanne

This video was recorded during my TFI Crafty Friday Live – Please feel free to skip sections where I am chatting to those watching live.

Measurements:

  • 4 pieces Whisper White = 31/8 x 55/8 inches
  • Night of Navy = 71/2 x 53/4 inches
  • Designer Series Paper = 51/2 x 33/4 inches
  • Tag = 2 x 3 inches

Scoring:

  • 7/8 inch on all four sides on all five pieces.

Supplies:
Gleaming Cube

Making large boxes isn’t done often, mainly because I like to save Designer Series Paper (DSP) and not use an entire sheet in one go. But that’s silly – that’s what it’s for and should be used for others to be amazed by. So I’ve done it, this project uses a full 12″ x 12″ sheet of Specialty Designer Series Paper and a full 12″ x 12″ foil sheet. It looks absolutely gorgeous and I wish I had done it a lot sooner.

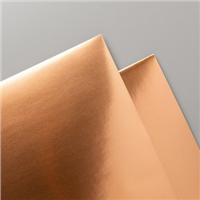
The Brightly Gleaming paper is a returning fave from last year’s Autumn / Winter Mini Catalogue and you can see why – it’s absolutely beautiful. There isn’t much you need to do to a project when you have paper like this! So I decided to make the most of the stunning paper and not do too much to cover it up.

The foil base sits with the paper lid and a wrap of Night of Navy ribbon – the only extra piece is a small label, ready for the recipients name to be added. I love it, almost too much – who is going to receive this from me? It’s a great size to fit lots of treats, jewellery, scarves, ornaments, a bundle of smellies… all sorts!

Have you got your hands on this paper? If not, why not?

Best Wishes,
Suzanne

Colours Used:

Measurements:
  • Designer Series Paper = 12 x 12 inches
  • Copper Foil = 12 x 12 inches
  • Copper Foil scrap.
  • Very Vanilla scrap.
  • Night of Navy scrap.

Scoring:

  • Designer Series Paper = 4 inches on all four sides (see video for tip)
  • Copper Foil = 4 inches on all four sides

Supply List:

Hexagonal Thanks

I enjoy making unusual shape boxes – anything that isn’t square or rectangular. I also love making big boxes that can house lots of treats and goodies. This box was meant to be a flat bottomed, tall box with a hexagonal top to it. However, when making the net of my sample, I got the idea to turn both ends into the same.

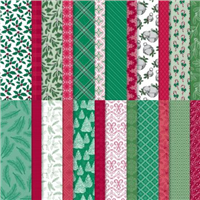
On my second version, I switched things up a little by using ‘Tis the Season Designer Series Paper to make a Christmas version. The paper is absolutely gorgeous and so many designs to choose from – I went for a Cherry Cobber candy cane pattern.

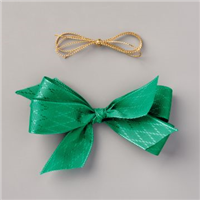
My most favourite part is the gold cord that I used to tie up the two ends of the box. I’ve always loved cord to tie boxes and bags together, it is so forgiving when tying bows and is easy to untie to gain access to the contents.

Which colour do you prefer – the Night of Navy or Cherry Cobbler?

Best Wishes,
Suzanne

Colours Used:

For Boho Indigo version:

For ‘Tis the Season version:

Measurements:

  • Cardstock = 73/4 x 11 inches
  • Designer Series Paper (6 pieces) = 11/2 x 4 inches

Scoring:

  • Long side (11) = 13/4, 31/2, 51/4, 7, 83/4, 101/2 inches
  • Short side (73/4) = 13/4 inches on both sides

Supply List:

For Boho Indigo version:

For ‘Tis the Season version:

Happy Boho News

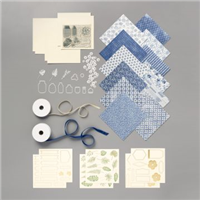
Stampin’ Up! make simple cards so easy – the products in the Annual Catalogue are beautiful and co-ordinate with one another perfectly. To make life even easier, they bring together Product Medleys – one of which is used in this project. The Boho Indigo product medley is gorgeous, full of floral patterns, shades of blue and finished with gold accents.

This card uses three simple items from that medley – a piece of Designer Series Paper, a gold edged die cut for a sentiment and two gold pop out die cuts for decoration. All I added was the card base and stamp a sentiment – which is ideal for those last minute cards that are needed or for someone who is new to crafting and isn’t sure where to start.

But I think you would agree – Boho Indigo makes great projects every time?

Best Wishes,
Suzanne

Colours Used:

Supply List: