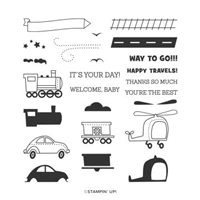
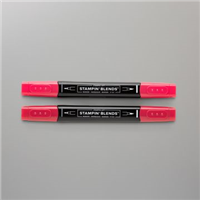
Some evenings, my children and I like to stamp images which can be coloured in with Stampin’ Up! blends and just spend some time colouring together. This card uses the ‘Moving Along’ stamp set and a set of images based on vehicles. We spent some time colouring them and adding bits of details such as tracks, roads and stars (which double up as steam from the train – because why not?!).
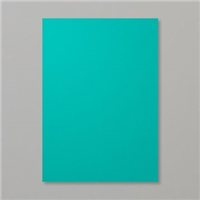
We cut the vehicles out separately and mounted them onto a base of Whisper White, but felt this would be too plain so introduced an additional layer of Bermuda Bay. Our card base is Real Red, which I think contrasts beautifully with the Bermuda Bay.
To finish the card off and give it a bit of dimension, we stamped onto Basic Black and heat embossed it in white. My boys went on to drop little stick men parachuting from their helicopter – which is so cute!
Are you a colouring person?
Best Wishes,
Suzanne
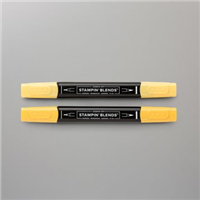
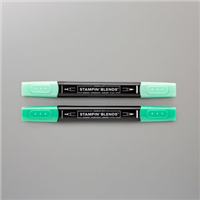
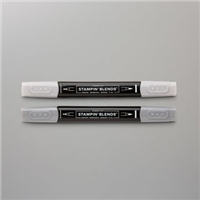
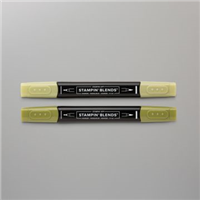
Colours Used:

Supply List: