Pastel Love

Sometimes I really struggle for inspiration and sometimes inspiration comes at the craziest of times. My daughter Mia is currently studying Art as part of the option set she chose for GCSE and their current material of choice is watercolour. It was one of her recent pieces of work that inspired this card and the colour choices.

Copyright: Mia Pickard

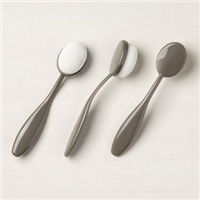
Whilst I didn’t do watercolour myself, I went with three similar colours to blend a background going for the more subtle pastel type shades. These were applied using the blending brushes from the Mini Catalogue, which allow you to blend onto card much more evenly that daubers or sponges do.

Mia decided to use a black outline for each focal point – the eye. However, I felt I didn’t need that due to the muted shades that I chose for my background. So simply punched out a Basic White heart and popped it up on dimensionals with a die cut sentiment.

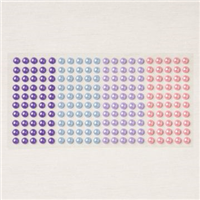
My final touch was a few of the pearls from the Hydrangea Suite – gorgeous!

Where do you go when you need inspiration?

Best Wishes,
Suzanne

Colours Used:

Supplies:

Hydrangea Happy Pouch

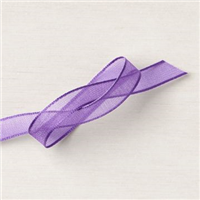
Stampin’ Up! really do design and make some absolutely gorgeous suites and thanks to the colour families they have, the embellishments and ribbon etc are always the most divine colour ways. The Hydrangea Heaven suite has to be one of the best examples for this in my opinion – I’m a purple fan, so this really floats my boat!

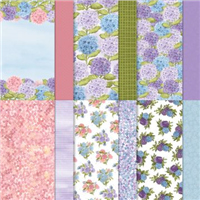
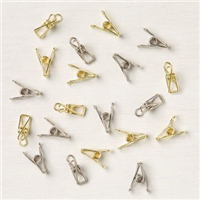
The papers are beautiful designs featuring Hydrangeas, with this pattern in particular grabbing my attention for a more subtle project. Of course, I also included the Clever Clasps which if you don’t look carefully in the Mini Catalogue you may miss entirely!

Isn’t the paper just divine? And I’m so happy about Stampin’ Up! bringing a clasp / clip back into the catalogue. I miss the pegs / clips from previous years as they’re such an easy and quick way to close a bag without struggling to tie a bow.

Did you spot the Clever Clasps in the catalogue?

Best Wishes,
Suzanne

Colours Used:

Measurements:

  • Designer Series Paper = 91/2 x 63/4 inches
  • Basic White scrap

Scoring:

  • Long side = 11/2, 41/2, 6, 9 inches
  • Short side = 11/2 inches

Supplies:

Plaid Daddy

Mixing and matching is a big part of the fun when crafting. Grabbing different colours, stamp sets, dies etc and bringing them together to create final project. This particular project is a great example of that – where originally I wanted to make a plaid top to sit on a box lid, but then somehow created a card front fit for a daddy’s birthday.

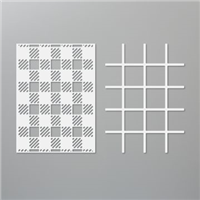
The Plaid Builder dies have been in my stash since the Annual Catalogue launched back in June, but have yet to be used on a project. They’re the perfect size for a card front, so when I realised the size, my plan quickly changed.

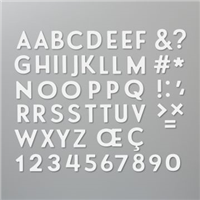
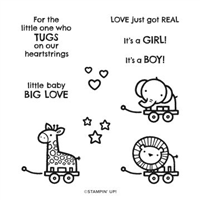
One of the dies as part of the Plaid Builder has cute little squares as off cuts, so I recycled these and paired them up with the Playful Alphabet dies to spell out ‘Daddy’ and then teamed it with the Baby Pull Toys and sets to really finish the project off. I love it!

Have you used the Plaid Builder dies? Perhaps you could join my Crafty Hullahbaloo Facebook group and share your makes?

Best Wishes,
Suzanne

Colours Used:

Supplies:
Happy Suited Birthday!

I mentioned on a post a couple of weeks ago that I struggle when making masculine cards. Which is still the case and even with a gorgeous suite such as ‘Well Suited’, I still find it takes me some time to bring a project together. However, this card came to me quite quickly and was put together in less than 10 minutes.

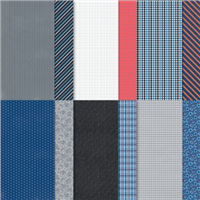
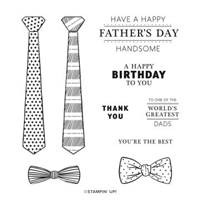
The vanilla panel in the middle gave me enough white space so the Paisley pattern on the Designer Series Paper (DSP) didn’t overwhelm, but then also somewhere for me to play my bow ties and sentiment.

Now I’m not sure who I’m going to give this too, but I have a masculine Birthday card prepped and in my stash ready for when I need it!

Do you find making masculine card more difficult?

Best Wishes,
Suzanne

Colours Used:

Supplies:
Simple Sunday #9 – Hydrangea Heaven

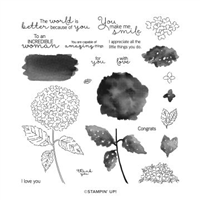
Welcome to my new Sunday series, affectionately known as Simple Sunday! The aim of this series is to showcase projects using minimal supplies, ideal for the beginner crafter or someone new to Stampin’ Up! Each project is a white card base with a 3×3 panel decorated using a single stamp set or die set. This week’s project features a stamp and die bundle that you can earn during Sale-a-Bration between 5th January and 28th February.

This bundle is absolutely gorgeous and brings back memories of gardening with my Grandma as a young girl. At a car boot sale, my Grandma and I found a beautiful Hydrangea plant being sold which had the bluest, most gorgeous flowers. The soil conditions in my garden at home meant it remains the most beautiful bright blue for years to come. Whilst I didn’t use blue for the flower head on this card, I feel Gorgeous Grape is a beautiful substitute.

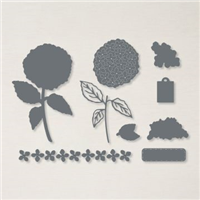
For the flower itself, I used the dies – aside from the sentiment there is no ink used to bring this together. I love how the flower head die gives you the petal detail allowing you to add some dimension to your projects.. and I’m in love with the suite as a whole.

What other colours would you use for the flower heads?

Best Wishes,
Suzanne

Supplies: