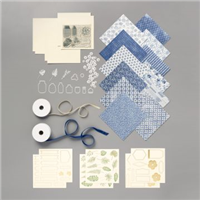
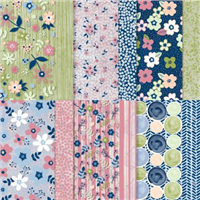
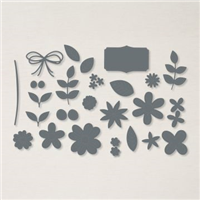
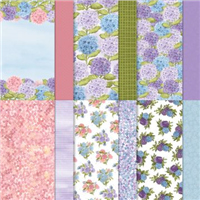
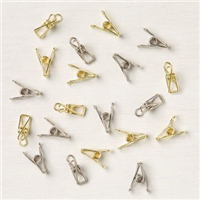
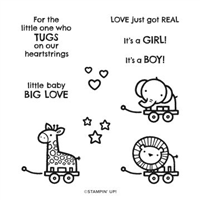
I’ve said it before and I will say it again, Product Medleys are amazing. The Stampin’ Up! Annual Catalogue offers one of my favourite ones in Boho Indigo, not only do you get everything you well need except ink and glue in a single product, but you can buy refill kits to continue making more and more and never run out. With stamps, dies, designer series paper (DSP), embossed card, ribbon & pop outs, there is lots for you to work with and make a variety of projects.
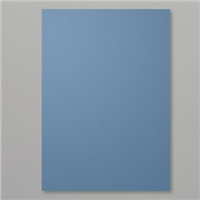
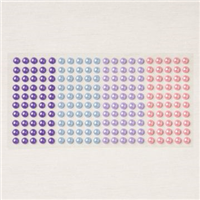
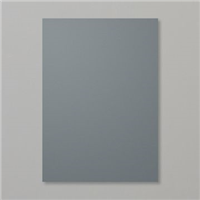
It features one of my favourite colours, Misty Moonlight and pairs it up with Very Vanilla (which isn’t featured enough in my opinion), with gold and green accents in the popups and ribbon.

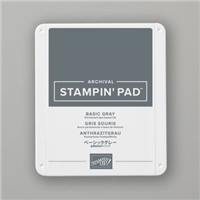
So, aside from adding a couple of ink pads and picking an adhesive, you receive everything to get you going on your craft journey – perfect for beginners. If you search my website using the tag #bohoindigo you will be able to see exactly what I have made with the set!
Are you a beginner crafter that isn’t sure how to start making cards? Let me know..
Best Wishes,
Suzanne
Colours Used:
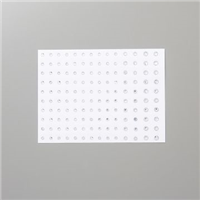
Supplies: