Welcome to my new Sunday series, affectionately known as Simple Sunday! The aim of this series is to showcase projects using minimal supplies, ideal for the beginner crafter or someone new to Stampin’ Up! Each project is a white card base with a 3×3 panel decorated using a single stamp set or die set. This weeks project is showcasing the brand new Art Gallery bundle, which is part of the new catalogue which launched on 5th January.
The stamp set is gorgeous and features beautiful two tone flowers, which are so easy to line up and create gorgeous designs. I love them! I’m not a massive fan of flowery sets, but this absolutely sung to me in the catalogue as it’s part of a larger suite (Fine Art Floral) with co-ordinating ribbon, dies, paper and golden speciality acetate

As you can see from this card, the flowers lend well to simplicity and the varying sentiments allow you to switch up the design for a large variety of occasions. I did a second colour way in my video – which one do you prefer?
Best Wishes,
Suzanne
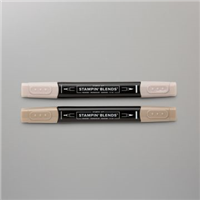
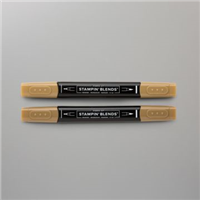
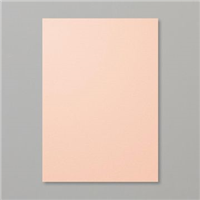
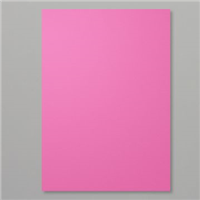
Colours Used:
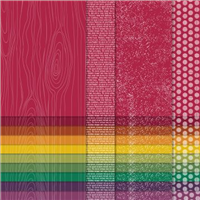
Supplies:
Come back for these after the 5th January and they will be live!