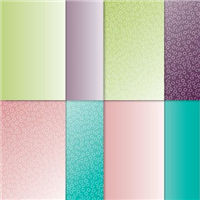
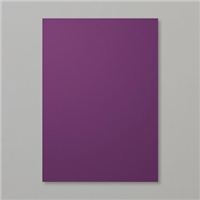
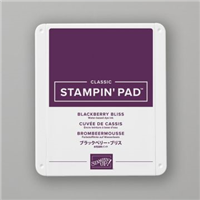
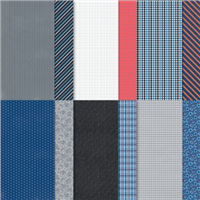
Now I’ve made no secret of the fact that this paper has to be my absolute favourite from all of the Sale-a-Bration events that I have been a demonstrator for – I just love it! The colours, the paper patterns, everything. Especially as one of the four colours is Blackberry Bliss!
My project was going to be a lidded box that was reinforced with a card base, but I couldn’t decide between the two designs, so opted for both (one for the lid, one for the base). The best part about using Designer Series Paper (DSP) for a project like this is the design on the inside of the box as well as the outside – winner!

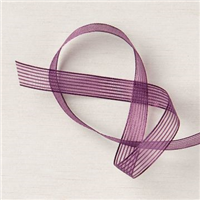
I was able to use the Blackberry Bliss Striped Ribbon on this box, which is also one of my favourite ribbons (anything Blackberry Bliss is my favourite!). The bows you can tie with this ribbon are so beautiful, I love them!
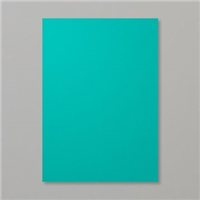
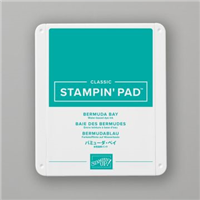
Which of the four colours do you prefer; Rococo Rose, Blackberry Bliss, Granny Apple Green or Bermuda Bay? Let me know in the comments.
Best Wishes,
Suzanne
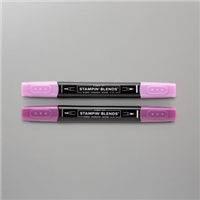
Colours Used:
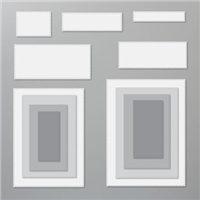
Measurements:
- DSP Piece 1 (Lid) = 6 x 6 inches
- DSP Piece 2 (Base) = 6 x 6 inches
Scoring:
- Box Base = 11/2 inches on all four sides
- Box Lid = 3/4 and 11/2 inches on all four side (watch my video for a tip!)
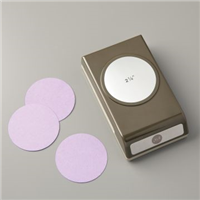
Supplies: