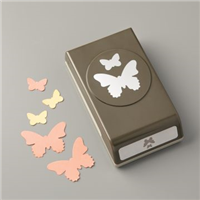
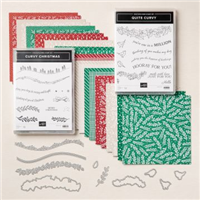
Welcome to my new Sunday series, affectionately known as Simple Sunday! The aim of this series is to showcase projects using minimal supplies, ideal for the beginner crafter or someone new to Stampin’ Up! Each project is a white card base with a 3×3 panel decorated using a single stamp set or die set. This weeks project is showcasing the Butterfly Gala stamp set, which has a matching punch with it! LOVE punches!

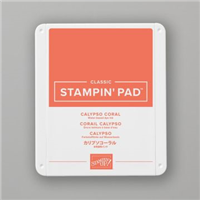
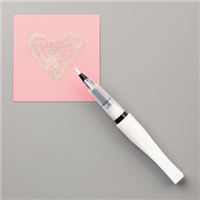
For the stamping, I used memento ink and randomly stamped across my 3×3 piece of cardstock – watch my video to see how I do this. My sentiment is stamped onto an additional strip of cardstock and stuck onto the 3×3 layer. I’ve then used Calypso Coral to stamp the inners of the large butterfly’s wings and stamp the tiny butterfly too.
Both butterflies have been adhered to the card with a single glue dot each, so that I could shape their wings off the card – I love how its finished!
Best Wishes,
Suzanne
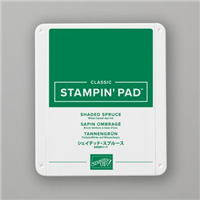
Colours:
Measurements:
- Card Base = 41/8 x 113/4 inches, scored at 57/8
- Front Panel = 3 x 3 inches
- Sentiment = 3 x 7/8 inches
Supplies: