Matchbox Birthday

Welcome to my Butterfly Bouquet spotlight week – this week will feature 7 video tutorials posted back to back to spotlight this early release collection from the 2021-2022 Annual Catalogue. The collection is made up of several components – Stamps, Dies, Designer Series Paper (DSP) and Specialty Paper.

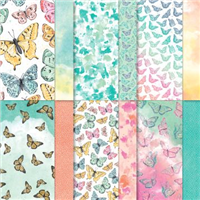
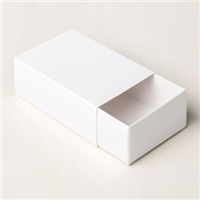
Eek! I’m so excited to show you this project – it’s so so easy to make and is so cute! Today’s project features the Designer Series Paper (DSP) from the Butterfly Bouquet collection – this paper is an exclusive which will only be available during this promotion and it is absolutely gorgeous! I’ve teamed the paper up with the Treat Boxes from the Love you Always suite in the Jan to June Mini Catalogue. These are a really good size and so can be filled with plenty of treats to gift to someone as a thank you, a congratulations or even part of a birthday gift!

Using one of the leftover butterflies that I cut out for yesterday’s project, I wrapped the outer layer of the treat box with a piece of Designer Series Paper cut to fit. The paper instantly gives the box a lift and makes it feel special even without the extra decoration.

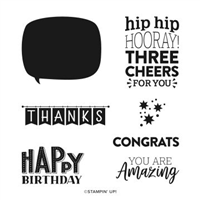
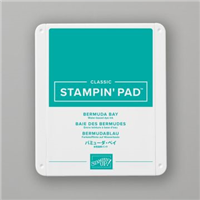
The second largest butterfly then makes its appearance on the front with a quick sentiment in Bermuda Bay to match the paper. I love how it looks when finished and I still have plenty of butterflies left for more projects!

Have you been tempted by the Butterfly Bouquet collection yet? If you have and want to get your hands on it, click the links at the bottom of this page.

Best Wishes,
Suzanne

Measurements:

  • Designer Series Paper = 53/4 x 4 inches
  • Basic White Scrap

Supply List:

Happy Saffron

Welcome to my Butterfly Bouquet spotlight week – this week will feature 7 video tutorials posted back to back to spotlight this early release collection from the 2021-2022 Annual Catalogue. The collection is made up of several components – Stamps, Dies, Designer Series Paper (DSP) and Specialty Paper.

One of the best creative techniques I have learnt whilst stamping / crafting along with others, is the tone on tone technique. I love how just having one colour ink and the matching card stock creates such a subtle, but beautiful decoration on any project. Inspiration for today’s card was taken from the colours featured in the Designer Series Paper (DSP) in the Butterfly Bijou paper stack.

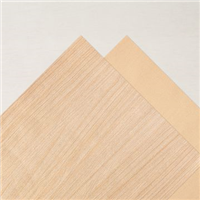
So Saffron is such a gorgeous colour, I’m not a massive fan of yellows but the subtle nature of So Saffron gets past my yellow barrier and I just couldn’t turn down the opportunity to work with that pretty large butterfly or the Natural Touch Specialty Paper.

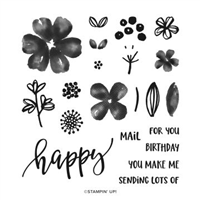
As the Butterfly Brilliance stamp set does not feature any sentiments, I have teamed today’s project with the Pretty Perennials stamp set. I cannot stop using this large happy stamp and fussy cutting it to sit on my projects. You’ll see that it features a few more times this week!

As always, if you like my projects and enjoy my videos, please pop over to my Youtube channel and subscribe to keep up with my crafty makes. You can also find me on Instagram or Facebook.

Best Wishes,
Suzanne

Measurements:

  • So Saffron Cardstock = 57/8 x 81/4 inches
  • Natural Touch Specialty Paper = 3 x 3 inches
  • Basic White Scraps
  • Die Cut Butterfly from Butterfly Bijou Designer Series Paper

Supply List:

Flowering Perfection

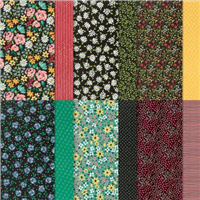
This Designer Series Paper (DSP) didn’t look as brilliant in the catalogue as it does in real life – the lesson here is to buy it if the thumbnails even slightly intrigue you. Not once has any of the products I have bought this way failed me. I’m sure you’ll agree by watching my video below, this paper is absolutely gorgeous!

I love the contrast of the bright colours against the black background, and I also love that the papers (and the stamp set) are one of the many options you can earn for FREE until the 28th February. The selection this year is one of the the best I have seen in my time as a demo! I’m not sure what the project I made is considered a box or a bag, but I love it nonetheless. They can store flat too, so for those who may mass produce them for sending treats or products, they can make them in advance and store them with minimal space required.

And don’t get me started about how good this stamp set is – I find myself reaching for it all the time. Just like the paper it is one of the choices available for FREE during Sale-a-Bration.

Have you chosen either of these as part of your freebies?

Best Wishes,
Suzanne

Colours Used:

Measurements:

  • Basic Black = 81/4 x 113/4 inches
  • Designer Series Paper (2 pieces) = 4 x 4 inches
  • Basic White Scrap

Scoring:

  • Long Side (113/4) = 3/4, 47/8 inches on both sides
  • Short Side = 2 inches on both sides

Supplies:

Boho Blue

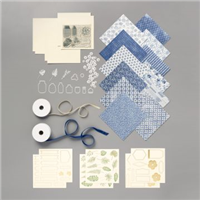
I’ve said it before and I will say it again, Product Medleys are amazing. The Stampin’ Up! Annual Catalogue offers one of my favourite ones in Boho Indigo, not only do you get everything you well need except ink and glue in a single product, but you can buy refill kits to continue making more and more and never run out. With stamps, dies, designer series paper (DSP), embossed card, ribbon & pop outs, there is lots for you to work with and make a variety of projects.

It features one of my favourite colours, Misty Moonlight and pairs it up with Very Vanilla (which isn’t featured enough in my opinion), with gold and green accents in the popups and ribbon.

So, aside from adding a couple of ink pads and picking an adhesive, you receive everything to get you going on your craft journey – perfect for beginners. If you search my website using the tag #bohoindigo you will be able to see exactly what I have made with the set!

Are you a beginner crafter that isn’t sure how to start making cards? Let me know..

Best Wishes,
Suzanne

Colours Used:

Supplies:

Origami Blooms

You know when you sit down at your craft table with a project in mind, but then something just doesn’t go quite right so you end up with something completely different? Well that’s what happened here, a misjudged measurement meant the project took a very different turn and ended in something else, equally beautiful.

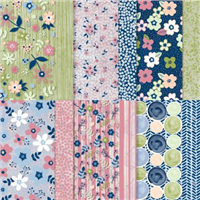
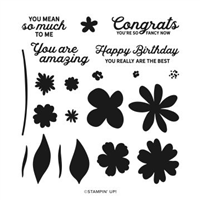
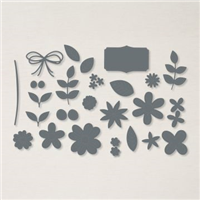
The project gave me the opportunity to use the pierced blooms dies again, which now I have them, I cannot stop using. They’re the perfect addition to any project and coincidentally co-ordinate with the FREE Paper Blooms Designer Series Paper (DSP) that I chose.

Also I’ll let you into a little secret, I personally prefer the version I made in the video, especially because I manage to tie a gorgeous bow on camera!

Have you ever had a project that went wrong, but then you preferred the end result?

Best Wishes,
Suzanne

Colours Used:

Measurements:

  • Designer Series Paper = 12 x 12 inches
  • Scraps of Petal Pink, Soft Sea Foam, Basic White, Night of Navy, Seaside Spray, Rococo Rose, Old Olive.

Scoring:

  • Side 1 = 3 and 6 inches
  • Side 2 = 41/2 and 71/2 inches

Supplies: