Elegant Cubes

Sometimes you just need a project that you can put together in a short amount of time as you have a last minute gift you need or perhaps you’re working in bulk. Stampin’ Up! sell some gorgeous pre-made boxes ready for you to construct and decorate in any way you please. Today’s project uses the Simply Classic Treat Boxes which come with a white bottom and gold cube top, perfect as they are if you don’t wish or have time to decorate.

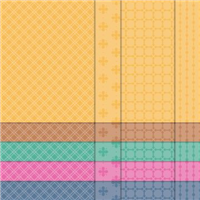
As the Gold co-ordinates perfectly with the Simply Elegant Designer Series Paper, I used that to decorate the panels on the top lidded section of the boxes. TIP: To get the Designer Series Paper to fit snug on the top panel of the box, you will need to punch a hole in the centre and feed the ribbon tag through. I show you how to do this in my tutorial below.

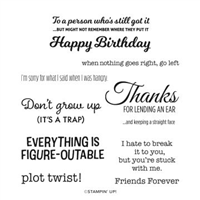
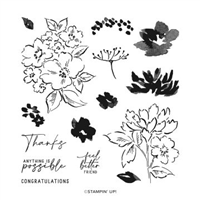
On the first sample, I made an error and used a ‘Thanks’ sentiment from the Hand-Penned Petals stamp set – I like how it looks, but I wanted to make sure I used everything from the same suite / bundle, so in my video I have used a ‘For You’ from the Elegantly Said stamp set. I love both of them, so just shows how versatile you can be!

To add a little more co-ordination, I included a small ribbon of Gold Trim and a Gold Metallic Pearl – love it. The best bit? This was made in approx. 15 minutes – great for bulk production!

Best Wishes,

Details below are for the colours and products used in my project today. Please remember, if you purchase from my store to add the host code (displayed in the top right sidebar) for orders under £150.

Details below are for the colours and products used in my project today. Please remember, if you purchase from my store to add the host code (displayed in the top right sidebar) for orders under £150.

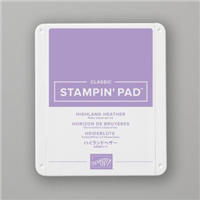
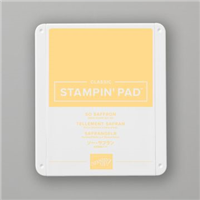
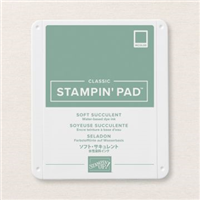
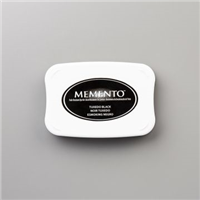
Colours Used:

Measurements:

  • Designer Series Paper = 6 x 6 inches
  • Belly Band = 6 x 11/2 inches
  • Scrap for stamping & flowers

Scoring:

  • Notch @ 2, 3, 4 inches on all four sides.
  • Join the notches each with a score line diagonally (see video)

Supply List:

Please take the time to follow my blog, subscribe to my Youtube channel or visit me over on Facebook at Crafty Hullahbaloo, where you can share your inspiration too.

Hand-penned Thanks

Everybody loves getting more value for their money – which is what this project originally was themed around. I had started to make a One Sheet Wonder and got about 6 cards in when I didn’t like how the remaining few would look, so I stopped. The pictures of the other cards haven’t made it onto my blog today and I’m still a little undecided whether they should.

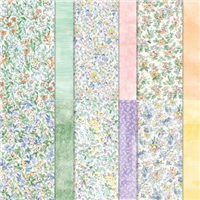
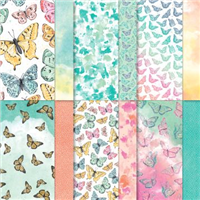
So whilst I’m unsure on the other pics, and the fact my One Sheet Wonder didn’t work, I did get to play around with the new Hand Penned paper. It is absolutely gorgeous – if you’re not a fan of the flowers then the opposite side with its muted subtle shades and less busy patterns will suit better.

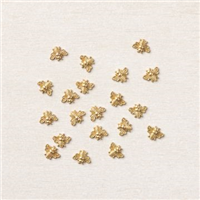
Once the paper was added to my card bases, I finished it off with some stamping, fussy cutting around my sentiments and finishing off with the most gorgeous bee embellishments (if you don’t have them, you seriously need them – they are so cute!)

How amazing is this suite of Designer Series Paper and stamps?

I hope you’ve enjoyed today’s project.

Best Wishes,

Details below are for the colours and products used in my project today. Please remember, if you purchase from my store to add the host code (displayed in the top right sidebar) for orders under £150.

Details below are for the colours and products used in my project today. Please remember, if you purchase from my store to add the host code (displayed in the top right sidebar) for orders under £150.

Colours Used:

Supply List:

Please take the time to follow my blog, subscribe to my Youtube channel or visit me over on Facebook at Crafty Hullahbaloo, where you can share your inspiration too.
Paper Wishes

Welcome to my Butterfly Bouquet spotlight week – this week will feature 7 video tutorials posted back to back to spotlight this early release collection from the 2021-2022 Annual Catalogue. The collection is made up of several components – Stamps, Dies, Designer Series Paper (DSP) and Specialty Paper.

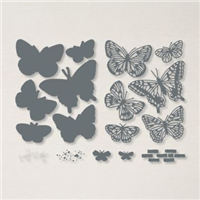
Are you enjoying my showcase so far? I think this collection is absolutely gorgeous, so I hope you are taking inspiration from the projects I have made. Today is project number 4 and I thought I would mimic the layout of one of the Designer Series Paper layouts to form a card front, except onto a different background. As you will see in my video, I use the large die from the Brilliant Wings set to help form the layout and act as a template for placing the butterflies down.

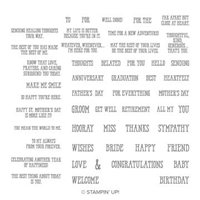
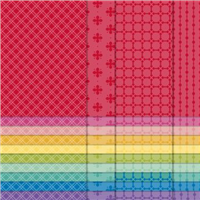
Of the Ombre / Watercolour designs, I really love the one that looks almost like a rainbow effect so chose that one as the focus of my background. When you have such subtle colours like the ones in the Designer Series Paper (DSP), something needs to be added that ‘pops’ off the page. For me, that had to be the sentiment and the Well Said stamp set lends itself well to singular word placement.

I chose to emboss my sentiment to get that ‘pop’ off the page, bringing in the contrast of white on black. This one is based on a birthday, but the Well Said stamp set means you could adapt this to any occasion – it has so many singular words and phrases, it is definitely a great set to have amongst your stash.

Which project has been your favourite so far? I hope you’ll join me again tomorrow!

Best Wishes,
Suzanne

Measurements:

  • Card Base = 81/4 x 57/8 inches (scored at 41/8)
  • Designer Series Paper = 37/8 x 55/8 inches
  • Basic Black Scrap

Supply List: