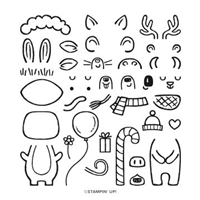
Aww, how cute is this little guy? And that hat is just adorable! The inspiration for this little guy came from my daughter who is a huge fan of pigs. As soon as she spotted this bundle in the catalogue, she begged me to order it. With the numerous combinations you can stamp and die cut with the bundle, I just couldn’t say no.
The number of animals / combinations you can make with the bundle are amazing, so many different animals to create, which we loved trying to work out when we first got the set. I’ve been stuck in a Halloween / Christmas phase lately so tried to make this card for a different occasion – this one being for a birthday. The balloons, present and flower all come in the same set so it’s great to set the theme of the card as well as create lots of different animals.
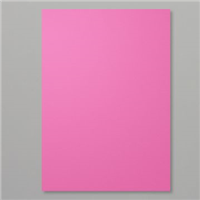
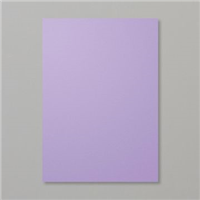
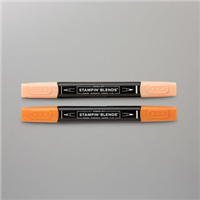
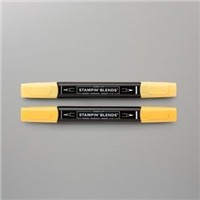
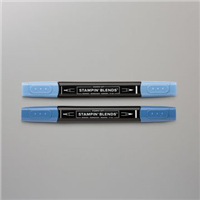
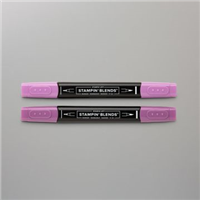
My daughter went for Magenta Madness and Highland Heather as part of her card, which I think looks great together! What do you think?
What colours would you put together and with which animal?
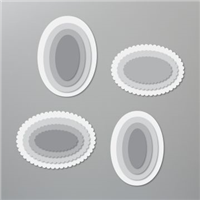
So, back in July you saw me make a cylindrical box using the Layering Circles dies – this time I’ve made an oval box using the same method and I think I prefer the oval to the circle! Made in my absolute favourite colour, Blackberry Bliss and decorated with Halloween goodies, this box is a great size. It uses the largest die of the Layering Ovals set to form the template for the lid and the base, and just like the cylinder box the lid sits flush.
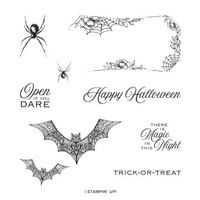
In last night’s live stream, I made another in a different colour way but still highlighting the gorgeous Magic in this Night suite from Stampin’ Up! The papers have got to be the best set of Halloween papers I’ve seen Stampin’ Up! do – I know, I say that every year!
Once again, I’ve brought out the iridescent pearls and the glittered organdy ribbon. But they’re so perfect for a Halloween inspired project, that I would be insane not to!! Which one do you prefer? Blackberry Bliss or Pretty Peacock?
Yesterday was my birthday, so I had to make sure the project done on my birthday was a special one. Neverending cards have been around for some time – they’re certainly nothing new BUT I have never tried to make one myself, so what better occasion?
I went for one of my favourite colours for the first one – Cherry Cobbler and teamed it up with the Regals 6″x6″ Designer Series Paper stack. This alone gave some nice texture / difference on the differing sections of the card. To decorate it, I used a multitude of dies available in my collection, stamping any sentiments or images with matching Cherry Cobbler ink.
The second one in the video below was made in exactly the same way, except this time I used Bermuda Bay card stock and Designer Series Paper. Now, I just have to overcome my addiction to making them then sitting there flipping them round and round and round again!
Three great goodies are coming your way in September!
Starter Kit Promotion
My Birthday Party Live Week
Stampin’ Cut & Emboss Machine
Starter Kit Promotion
This new promotion has been designed to give any new members who sign up in September a kick start into their Stampin’ Up! demonstrator life, giving additional product to get started right away. The additional product includes pre-cut paper, two stamp sets, and embellishments but is only offered for a limited time.
So, if you join my team in September, not only will you receive the above, you will also get £130 / 175 € of product for your starter kit and you shall also receive a business kit including catalogues!
My Birthday Party Live Week
From Monday 7th September, to celebrate my birthday, I shall be launching a special week of Facebook Lives. During this week, I will be live every day at 7:30 pm on my Facebook page – click here to view my page. I will cover a variety of projects including Fancy Fold, 3D boxes, bags and cards. Please feel free to join me live where I shall be answering any questions put to me – or you can watch them back afterwards, as all videos shall be uploaded onto my Youtube channel. There will also be a giveaway – more details for this will be explained in due course!
Stampin’ Cut & Emboss Machine
It has been known for a little while that Stampin’ Up! were working on a new die cutting machine and it is well worth the wait! From 1st September, you will be able to get your hands on your very own machine. It’s very easy to use, allowing intuitive die-cutting and embossing. All plates are labelled with a number for easy reference when building a sandwich.
The machine is light (1.22kg / 2.7lbs) and convenient to craft on the go – the platforms fold in to make transporting easy (and takes up less space when storing). When purchasing the machine, you get the plates required to get started, you will receive:
1 Base Plate (Plate 1)
1 Die Plate (Plate 2)
2 Cutting Plates (Plate 3) and
1 Specialty Plate (Plate 4)
So as you can see, some amazing things ongoing in September – which you can be a part of! Please don’t hesitate to ask me how.
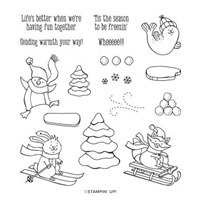
My son turned 11 last month – he’s absolutely penguin mad, so his card every year is always penguin related in some way. The launch of the new Autumn / Winter was perfect timing for me to make his card this year, especially with the inclusion of the Freezin’ Friends Bundle. The gorgeous penguin from this set made this year’s birthday card very easy.
After making 6 penguins (one for each letter of my son’s name), I paired the penguins up with paper from the ‘Magic in this Night’ Designer Series Paper (DSP) and his favourite colour, Real Red.
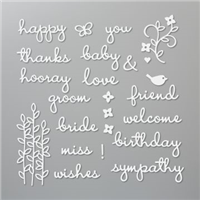
My sentiment is die cut from the ‘Well Written’ dies and stuck on using the adhesive sheets to turn the die cut into a sticker – much easier for those smaller, fiddly dies and stops you getting glue everywhere.
My son absolutely loved the card and is now pride of place on his desk.
Do you have a favourite animal? Is there a stamp set for that animal?