
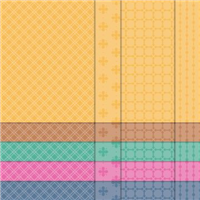
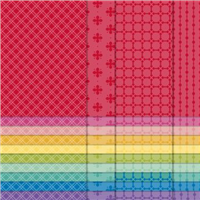
Whilst I love teeny tiny small project, I do love it when I can create a large project – something that requires multiple pieces of card and can fit plenty in it. As you can see from the picture, that’s certainly what today’s project is – it barely fit in my photobooth! But I felt I had to create a large box as I wanted to show off the FREE hostess reward paper Pattern Party.

Pattern Party is gorgeous paper and whilst it is a reward choice, it is a large pack with 48 double sided sheets. One side is colourful, a mix of patterns and colours which are bright and cheerful. The other side is monochrome – black and white – and allows you to work with it in whatever way you please. I chose to blend some of mine with ink that co-ordinates with the cardstock.
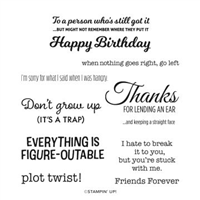
You’ve seen me use this stamp set already and before I made the box I knew I wanted to feature these cute little turtles on it. I hadn’t used Evening Evergreen much, so chose to make that the feature of my first box (the second in the video uses Soft Succulent) and to say I wasn’t overly keen on the colour when it was first announced, I have loved using it – the matching ribbon by the way is so easy to work with, makes the most gorgeous bows!

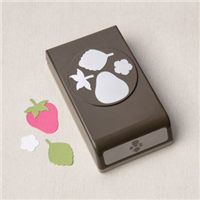
…and these little guys, well it goes without saying that they’re just the cutest. Bit of a note here – the punch only cuts out the larger turtle. To make the smaller ones, I stamped the images and then fussy cut around them – totally worth it!
Best Wishes,

Details below are for the colours and products used in my project today. Please remember, if you purchase from my store to add the host code (displayed in the top right sidebar) for orders under £150.
Details below are for the colours and products used in my project today. Please remember, if you purchase from my store to add the host code (displayed in the top right sidebar) for orders under £150.
Colours Used:
Measurements:
- Designer Series Paper = 6 x 6 inches
- Belly Band = 6 x 11/2 inches
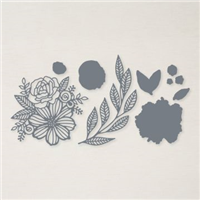
- Scrap for stamping & flowers
Scoring:
- Notch @ 2, 3, 4 inches on all four sides.
- Join the notches each with a score line diagonally (see video)
Supply List:


Please take the time to follow my blog, subscribe to my Youtube channel or visit me over on Facebook at Crafty Hullahbaloo, where you can share your inspiration too.