Today’s project is a special one – the idea came to my head following a struggle with my desk space and a lack of storage for my many embellishments. Prior to making this project, my embellishments were stored in spare stamp cases, but this meant I had less space for stamp sets on my shelves. But I still wanted my embellishments close to hand for quick reference when bringing a project together.
I then decided to see if I could make something suitable, which could fit in a small space on my desk, and keep them in close reach. I didn’t originally intend for these boxes to be like a matchbox, but an accidental ‘slip’ of the scissors turned into a happy surprise.
In the end, I decided to go with the matchboxes as I liked how I could personalise the outer cases into any pattern I wanted. As the boxes were brought together, they started to remind me of books – so I started to decorate the spine to reflect that of a book.
For the spine, I used Harvest Hellos and the Playful Alphabet dies, popped up with foam adhesive to give a bit of dimension.
I would love to see your versions!
Best Wishes,
Suzanne
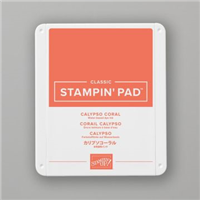
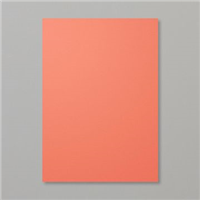
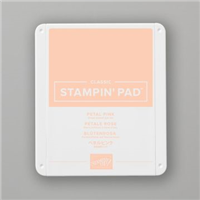
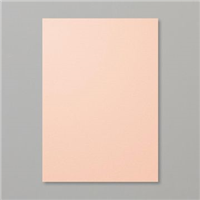
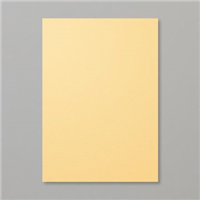
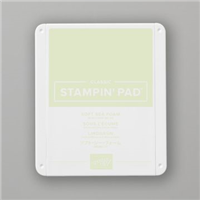
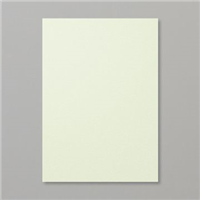
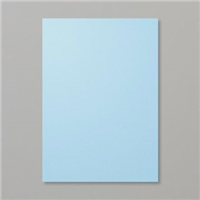
Colours Used:

Measurements:
PLEASE NOTE: The measurements below will make seven books as shown in the video:
- Matchbox Base = 5 x 6 inches
- Coloured Wrap = 81/2 x 4 inches
- Decorative Strip = ¾ x 33/4 inches
- Letter Piece = ¾ x 1 inch
Scoring:
Matchbox Base:
- Score at 1 inch on all four sides.
Coloured Wrap:
- Long side (81/2): ½, 31/2, 41/2, 71/2 inches
Supply List: