Halloween Magic

HalloweenMagic_Pic

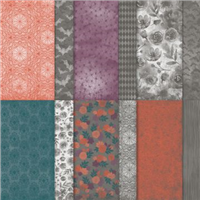
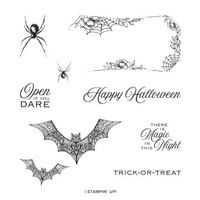
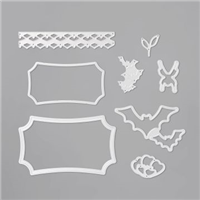
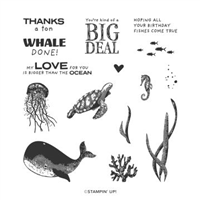
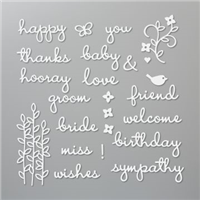
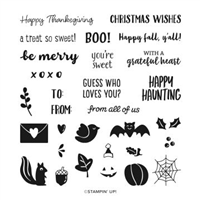
This year’s Halloween paper is absolutely gorgeous and whilst Halloween is still almost two months away, I find myself using it again and again (you’ll see it make an appearance in my Birthday Party Live Week). For this project, I wanted to showcase the gorgeous bats and the giant label you get as part of the stamps and dies, so a large box was the perfect solution.

The large bat on this project was the first item I used when I received my Mini Catalogue pre-order, the fact that the dies fit around the Designer Series Paper (DSP) patterns is a great added bonus and I love how these bats look when they’re cut out.

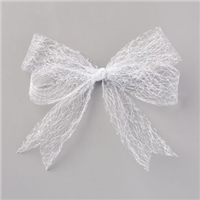
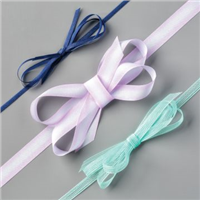
I went quite simple with the box design so that the paper and the decoration could take centre stage. The Metallic Mesh ribbon is perfect for this project with its almost spiderweb appearance – but could be a great addition on Christmas projects too.

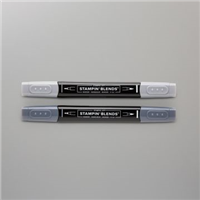
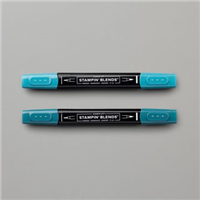
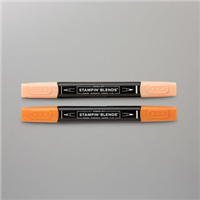
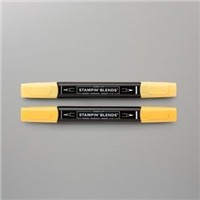
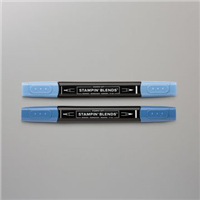
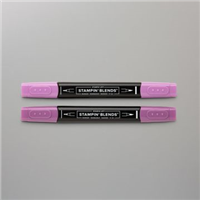
Finally, a bit of blends colouring on the label brings it all together. The box is large enough to fit numerous treats – perhaps to give to children out trick treating? Or as a table gift at a Halloween party? What do you think? I hope you like it. #

Best Wishes,
Suzanne

Colours Used:

Measurements:

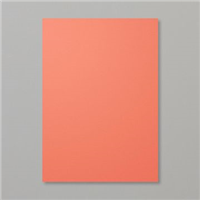
  • Cardstock = 8 x 11 inches.
  • Designer Series Paper = 6 x 9 inches.

Scoring:

  • Base (Cardstock): 2 inches on all four sides.
  • Lid (Designer Series Paper): 1 inch on all four sides.

Supply List:

Matchbox Library Part 2

MatchboxLibrary_Pic

In our last blog post, we made the matchboxes to hold our embellishments – but in their current form, once weighted with goodies, they may fall over and become troublesome. To overcome this and make sure they acted as a desk tidy, I created a container big enough to hold all seven of my boxes neatly and keep them upright.

I didn’t go overboard with decoration on the container as where it is located on my desk means 3 sides aren’t visible, so I went with a simple rainbow of matching colours on the front. The off cuts are the same size as the card behind the letters.

The container has a reinforced front and rear to give extra protection and provide a little extra stability once placed on a desk waiting to be used. I love mine and couldn’t wait to share it with you. Of course, if you wish to add more or less matchboxes, the measurements can be altered to suit!

Best Wishes,
Suzanne

Colours Used:

Colors

Measurements:

  • A full EU A4 sheet of card stock

Scoring:

  • Long Side: 2 inches on both sides.
  • Short Side: 1, 2, 51/8, 71/8 inches.

Supply List:

Whale of a Time Hexagon Box

MiniHexagon_Pic

I absolutely LOVE a dinky box, they’re perfect for swaps / table favours and are super easy to transport to events. I always prefer to swap 3D items, mainly so I can package up a little sweet treat for my crafty friends. These ones are the perfect size for a single Ferrero Roche or Lindor truffle.

The Whale of a Time Designer Series Paper is one of my favourites for making fun little treat boxes. Previously, I made some teacher gifts containing After Eight mint chocolate – which are a fave of mine – and this paper was perfect!

Barely any additional craft tools are required for this dinky box, a small hole punch and some adhesive is the only extras so perfect for someone with a smaller craft stash.

Are you going to have a go at doing your own?

Best Wishes,
Suzanne

Colours Used:

Colors

Measurements:

  • Cardstock = 61/2 x 33/4 inches
  • Designer Series Paper = 6 x 1 inches

Scoring:

  • Long side (61/2) = 1, 2, 3, 4, 5, 6 inches
  • Short side (33/4) = 11/4 inches on both sides

Supply List:

Penguin Birthday

PenguinBirthday_Pic

My son turned 11 last month – he’s absolutely penguin mad, so his card every year is always penguin related in some way. The launch of the new Autumn / Winter was perfect timing for me to make his card this year, especially with the inclusion of the Freezin’ Friends Bundle. The gorgeous penguin from this set made this year’s birthday card very easy.

After making 6 penguins (one for each letter of my son’s name), I paired the penguins up with paper from the ‘Magic in this Night’ Designer Series Paper (DSP) and his favourite colour, Real Red.

My sentiment is die cut from the ‘Well Written’ dies and stuck on using the adhesive sheets to turn the die cut into a sticker – much easier for those smaller, fiddly dies and stops you getting glue everywhere.

My son absolutely loved the card and is now pride of place on his desk.

Do you have a favourite animal? Is there a stamp set for that animal?

Best Wishes,
Suzanne

Colours Used:

Colors

Supply List:

Monochrome Love

MonochromeLove_Pic

Do you often find that making a masculine card is more difficult than making one for a female recipient? I know I do. I try to set myself a challenge that 1 in every 10 cards must be purposely masculine – this way I’ve always got a masculine card for when I need it. I will confess, it’s no easy challenge.

I start by looking through the Designer Series Paper (DSP) available to me in my collection and pick out any masculine patterns. This particular one is from the Peony Garden DSP and the pattern meant I could let that be the focus of the garden with a simple sentiment to finish it off.

The sentiment is from a great stamp set called ‘Banner Year’, it includes many different images and sentiments to suit all occasions – including the little heart, which is so cute! I then finished it off with my favourite embellishment in this year’s Autumn Winter Catalogue – the iridescent pearls!

What do you think? Do you make many masculine cards?

Best Wishes,
Suzanne

Colours Used:

Colors

Supply List: