With a new Stampin’ Up! catalogue on the way, I thought I’d give you a sneak peek at some upcoming product that will be available – keep your eyes peeled, as there will be more!
With a new Stampin’ Up! catalogue on the way, I thought I’d give you a sneak peek at some upcoming product that will be available – keep your eyes peeled, as there will be more!

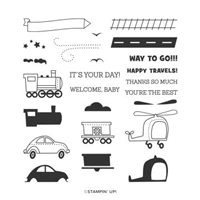
Welcome to my new Sunday series, affectionately known as Simple Sunday! The aim of this series is to showcase projects using minimal supplies, ideal for the beginner crafter or someone new to Stampin’ Up! Each project is a white card base with a 3×3 panel decorated using a single stamp set or die set. This weeks project is showcasing the Way to Go! stamp set, which is so versatile for many different themes – children, welcoming new babies, car / train hobbyists or for those setting off on their travels.

As you know, I love getting my blends out to colour in. However, this stamp set also features two step stamping. Meaning you don’t need to use blends like I have, meaning the one less item from the list of items used. And in true style, I have shown a second colour way in my video below.
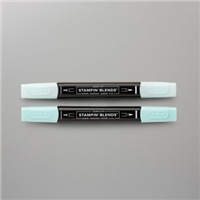
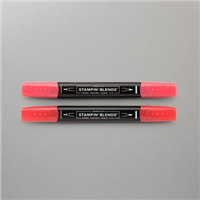
I love the dimension of the fussy cut train against the stamped background, highlighting the sentiment and tying the whole project together. For the baby boy version, I used Balmy Blue where I featured Petal Pink for a baby girl inspired card. But you may not wish to follow the traditions and go with something a little brighter.
And best of all? You don’t even have to use a train, the stamp set also features a car and a helicopter! Perfect! But I think I prefer the train – reminds me of Thomas the Tank Engine that I used to watch as a child. Which do you prefer?
Best Wishes,
Suzanne
Colours used:
Measurements:
Supplies:

OK, so I’m a little bit addicted to making these domed boxes. So much so, I’m here with a different version today. Following on from my TFI Friday Live Crafting last week, where I made one of these boxes with a single piece of Designer Series Paper (DSP), I’m back with a cardstock and DSP version.
This time I reached for the bright colours of the Artistry Blooms paper pack. My sample focused on Magenta Madness, whilst my video showcases Bumblebee – both colours from the 2020-2022 collection.
They’re a good size for treats, sweets, jewellery, wax melts, bath bombs, candles… the list is endless. BUT a tip – put the heavier goodies in the cardstock version so you benefit from the stronger base.

I absolutely love the ombre side of the papers included in the Artistry Blooms pack, and they have been used many times as they’re gorgeous. The picture above should show you just how gorgeous they are.
I finished off the box with co-ordinating ribbon and felt they didn’t need any decoration. I’ll keep this ready to use and decorate when I know the occasion they’re to be used for.
Which colour do you prefer?
Best Wishes,
Suzanne
Measurements:
Scoring:
Supplies:

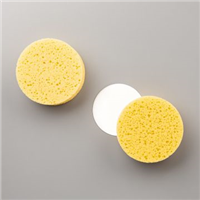
I love trying out new techniques and whilst I have done sponging before, I’ve never paired it up with masking at the same time. So I thought I would give it a shot! The moon on this card was masked prior to sponging the gorgeous shades of blue background, to give the effect of a night sky and I absolutely love the results!
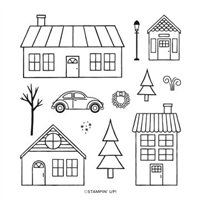
I teamed my background up with the Coming Home stamp set, using blends to colour in the images (of course!) and then layered them up on the front to create a cute little scene. I am such a fan of these little houses and trees.

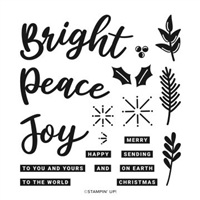
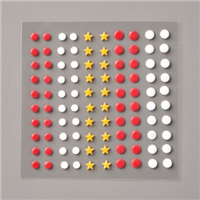
When I had finished the scene, I picked a message from the Peace & Joy stamp set and finish the night sky with the little stars from the All the Trimmings embellishments. Which I think finishes the card front off perfectly! What do you think?
Best Wishes,
Suzanne
Colours Used:
Supplies:

Welcome to my new Sunday series, affectionately known as Simple Sunday! The aim of this series is to showcase projects using minimal supplies, ideal for the beginner crafter or someone new to Stampin’ Up! Each project is a white card base with a 3×3 panel decorated using a single stamp set or die set. This weeks project is showcasing the Gnome for the Holidays stamp set, which I think is so adorable!

I love colouring in images with my blends and this stamp set really offers some great opportunities to do that. I coloured in the cute little tree house and the gnome using various colours – my video details which ones. The great thing about Stampin’ Up! stamp sets is the stamped image gives you indications of where the light and shade should be, making blending even easier!
Once completed, I fussy cut around the gnome and used dimensionals to pop him onto the front of the card topper. Finishing the whole card with a small bow of braided linen trim. How cute?
Best Wishes,
Suzanne
Colours:
Measurements:
Supplies: