Welcome to my new Sunday series, affectionately known as Simple Sunday! The aim of this series is to showcase projects using minimal supplies, ideal for the beginner crafter or someone new to Stampin’ Up! Each project is a white card base with a 3×3 panel decorated using a single stamp set or die set. This week’s project features a stamp set that you can earn FOR FREE during Sale-a-Bration between 5th January and 28th February.
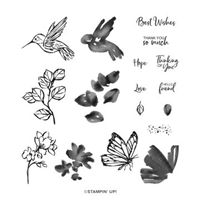
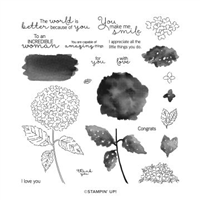
Touch of Ink – this has to be my most favourite stamp set of any Sale-a-Bration that I have been part of. So I decided to add an extra card in this week for my Simple Sunday. I absolutely love both of them for different reasons.
The softer colours of the hummingbird card vs the brighter hues of the butterfly, both of them are gorgeous in their own way and I really enjoyed making them both. The stamp set is two step – which means you can stamp the outline and then get another stamp to infill – leaving you a whole host of different colour combinations.

As you can see, I went for more muted tones for the Hummingbird hovering over the sweet flowers using four separate colours to show a difference between the outline and fill colours. The Hummingbird is them popped up on dimensionals to give some extra shadow on the card itself.
The Butterfly is popped up in the same way, but the colours are a little less muted. However, this doesn’t change just how pretty the card looks. They’re both equally beautiful.

I hope you find my Simple Sunday Series useful and it shows you that you don’t have to throw everything craft product you own to create a pretty project.
Which colour way / card do you prefer?
Best Wishes,
Suzanne
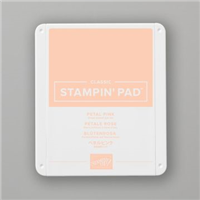
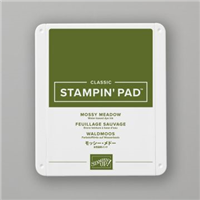
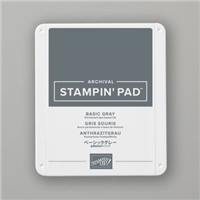
Colours Used:
Supplies: