Matchbox Birthday

Welcome to my Butterfly Bouquet spotlight week – this week will feature 7 video tutorials posted back to back to spotlight this early release collection from the 2021-2022 Annual Catalogue. The collection is made up of several components – Stamps, Dies, Designer Series Paper (DSP) and Specialty Paper.

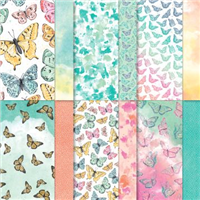
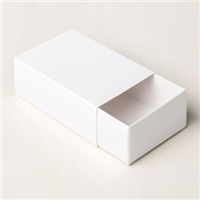
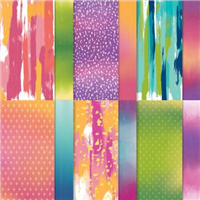
Eek! I’m so excited to show you this project – it’s so so easy to make and is so cute! Today’s project features the Designer Series Paper (DSP) from the Butterfly Bouquet collection – this paper is an exclusive which will only be available during this promotion and it is absolutely gorgeous! I’ve teamed the paper up with the Treat Boxes from the Love you Always suite in the Jan to June Mini Catalogue. These are a really good size and so can be filled with plenty of treats to gift to someone as a thank you, a congratulations or even part of a birthday gift!

Using one of the leftover butterflies that I cut out for yesterday’s project, I wrapped the outer layer of the treat box with a piece of Designer Series Paper cut to fit. The paper instantly gives the box a lift and makes it feel special even without the extra decoration.

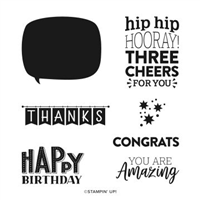
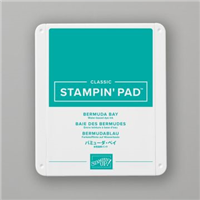
The second largest butterfly then makes its appearance on the front with a quick sentiment in Bermuda Bay to match the paper. I love how it looks when finished and I still have plenty of butterflies left for more projects!

Have you been tempted by the Butterfly Bouquet collection yet? If you have and want to get your hands on it, click the links at the bottom of this page.

Best Wishes,
Suzanne

Measurements:

  • Designer Series Paper = 53/4 x 4 inches
  • Basic White Scrap

Supply List:

Chocolate Vellum Box

ChocolateKindofDay_Pic

How amazing is the ‘Nothing’s Better Than’ stamp set? You may not like all three feature items in it, but at least one of them will be a vice, mine is chocolate (and sometimes cocktails!). A couple of years ago, I made chocolate boxes for my team which included a long thin chocolate bar – a bit like a Ripple / Flake / Twirl / Time Out. I thought I’d remake these to make full use of the stamp set.

I used chocolate inspired card stock with Early Espresso and Soft Suede for my two samples, using tone on tone stamping by using the matching ink shades. These boxes could be very easily adapted to suit the coffee sachets available in supermarkets, ideal to gift to a caffeine crazy friend / family member.

I wanted to give my boxes a wrap of some sort and a contrast away from the dark shades of cards, so I added a small piece of Plush Poinsetta Vellum around the middle. Finishing off the wrap with a chocolate inspired sentiment. These are such cute boxes and easily to reproduce on larger scales. I have recently made 15 of these for my UK team, which took me no longer than an hour to complete.

I hope you enjoy making them as much as I did!

Best Wishes,
Suzanne

Colours Used:

Colors

Measurements:

  • Cardstock = 41/2 x 101/2 inches
  • Vellum = 4 x 5 inches

Scoring:

  • Long side (101/2): ½, 11/2 inches on both sides
  • Short side (41/2): 1, 2, 3, 4 inches


After Eight Teacher

20200705_172401369_iOS

How is already that time of year? Schools are getting ready to break up for the six weeks of summer (for those year groups that have been able to return following Covid-19 closures). For my eldest son, this is his last year in Primary School and he moves onto the scary world that is High School from September. Even though he will have only been back mere weeks, he wanted to get his teachers something to say ‘thank you’ and ‘goodbye’.

Inside these boxes are 10 After Eight chocolates, just the right amount to say thank you to each teacher without overloading them to the point they need a gym membership to work off the extra pounds gained from end of year gifts.

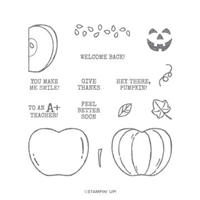
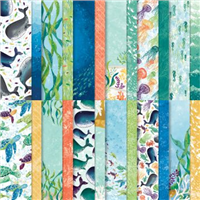
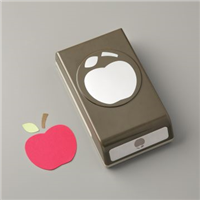
My son chose the Whale of a Time paper stack and a fish pattern in Shaded Spruce – which works well as the After Eight’s choc box is also a dark green. At first we tried stamping and colouring in the apple from Harvest Hellos with Stampin’ Blends, but something just didn’t quite sit right. A quick look on Instagram showed lots of stampers embossing their apples on coloured card stock, which has worked brilliantly on these boxes.

Finished off with a little note inside & a bow of ribbon on the front, these are gorgeous little teacher gifts without breaking the bank. My son can’t wait to give these to his teachers on the last day of school!

Where is this year going?

Best Wishes,
Suzanne

Colours Used:

AfterEight

Measurements:

  • Cardstock = 77/8 x 9 inches.
  • Scrap of cardstock for the stamped apple.

Scoring:

  • Long Side (9″): ½, 21/2, 43/4, 63/4 inches.
  • Short Side (77/8″): ½, 23/4 inches on both sides.

Supply List:
 

Gradient Blue

safdasd

Squee! I absolutely LOVE the Artistry Blooms paper – I cannot stop using it! I absolutely love the ombre effect side of the paper and these bags show off the paper in great style.

This bag uses a single strip of glue (for the sentiment), which means they can be stored flat until you’re ready to construct and gift. The paper being double sided means the inside has a gorgeous patterned interior.

I decided to finish mine with a bit of ribbon & a punched out sentiment – take a look at the video to find out more and let me know what you think!

Best Wishes,
Suzanne

Colours Used:

GradientBlueColours

Measurements:

  • Designer Series Paper = 6 x 12 inches

Scoring:

  • Long Side (12″): 31/2, 5, 7, 81/2
  • Short Side (6″): 11/2, 41/2  

Supply List:
 

Camo Love

20200612_195235671_iOS

Thank you to everyone who took the time to watch my Facebook Live on Friday evening. As promised, here is the blog post to accompany the project we made.

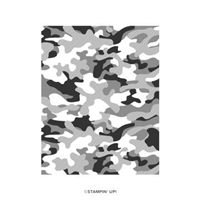
Whenever I scour a new Stampin’ Up! catalogue, there are items which immediately jump out to me and set ideas going in my head. The camouflage background stamp immediately got me thinking about cards for male recipients – they are one of my biggest challenges.

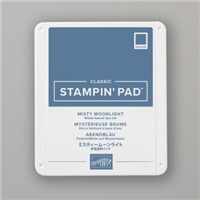
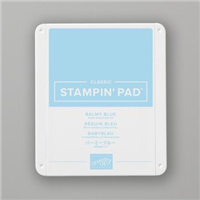
Originally, I made this as part of a challenge set in the Stampin’ Up! team that I am part of – we had to use the three colours Magenta Madness, Misty Moonlight & Balmy Blue (with only white or black as additionals). This is what I came up with!

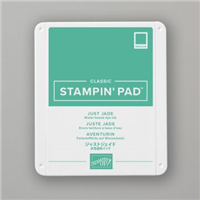
As part of my TFI Crafty Friday, I demonstrated how to make this card and used a different colour way – Just Jade, Cinnamon Cider & Granny Apple Green.

**This video was streamed live on Facebook and has not been edited**

Measurements:

  • Card Base = 41/8″ x 113/4″ inches (scored at 57/8)
  • 1st Layer = 37/8″ x 55/8″ inches
  • Stamped Layer = 35/8″ x 53/8″  inches

Colours used:

CamoLove1

CamoLove2

Supply List: