Floral Thanks

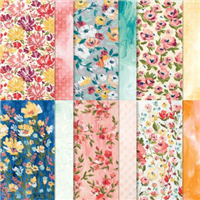
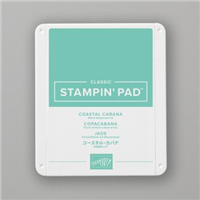
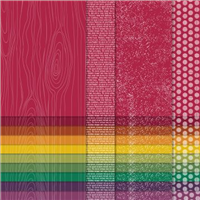
I first made this box on the day my pre-order from Stampin’ Up! arrived. The grey background on the paper with the bright colours instantly drew me in. I didn’t know what I was going to make, but knew it had to be with that particular pattern. The grey background contrasts beautifully with Coastal Cabana, so that formed the colour theme of my box.

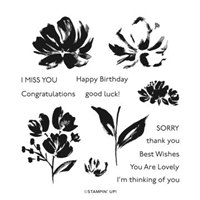
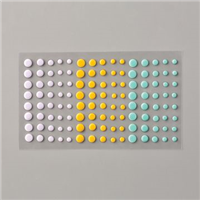
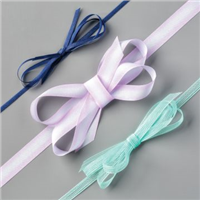
Using Fine Art Floral and some two step stamping, the picture really shines on the box. The colour theme also allowed me to bring out one of my favourite sets in the Annual Catalogue – Playing with Patterns, using both the embellishments and the ribbon.

And the best part? The darker shades on each of the flower heads is the same stamp. It has been designed to work with all three flowers, which I think is pure genius! And the box itself, well as the video shows – this can be made in bulk as it’s easy peasy to put together.

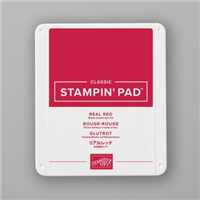
Which colour do you prefer, Coastal Cabana or Real Red?

Best Wishes,
Suzanne

Colours Used:

Measurements:

  • Cardstock = 91/2 x 71/2 inches
  • Designer Series Paper = 6 x 12 inches
  • Cardstock Scrap = 31/4 x 23/4 inches
  • Basic White Scrap = 3 x 21/2 inches

Scoring:

Cardstock:

  • Long Side = 3, 41/2, 71/2, 9 inches
  • Short Side = 11/2 inches

Designer Series Paper

  • Long Side = 51/4 inches on both sides
  • Short Side = 11/2 inches on both sides

Supplies:

Double Slot Treat Box

Birthday Party Live – Project #6

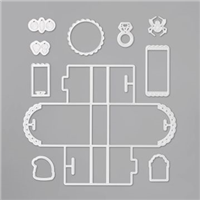
I love when Stampin’ Up! release dies that make cute little boxes such as the new Little Treat Box dies that are available. They are great when you are struggling to bring a box together for a project and mean you don’t have to work out the measurements before making it. This cute die is meant for a small treat, perhaps a small treat bar or some biscuits?

The treat box size is quite narrow, so does limit the treats that go inside it – however, I adapted mine to have two slots, so double the treats!! Who could say no to that?

To make the project does require two sheets of 6 x 6 Designer Series Paper, but it’s well worth it in my opinion. I chose to make mine from the Regals paper stack, but this could be very easily adapted to suit any occasion. A Christmas Designer Series Paper stack would be perfect with a few stocking filler treats inside – perhaps some chocolate coins?

This project means that there is only one left of my Birthday Party Live Event, I’ll be sad to see it end…

** Don’t forget to take part in my Birthday Party Giveaway **

Good Luck!

Best Wishes,
Suzanne

Colours Used:

Measurements:

  • Designer Series Paper (2 Pieces) = 6 x 6 inches
  • Whisper White = Scrap piece

Supply List:

Way to Go!

WaytoGo_Pic

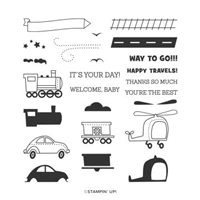
Some evenings, my children and I like to stamp images which can be coloured in with Stampin’ Up! blends and just spend some time colouring together. This card uses the ‘Moving Along’ stamp set and a set of images based on vehicles. We spent some time colouring them and adding bits of details such as tracks, roads and stars (which double up as steam from the train – because why not?!).

We cut the vehicles out separately and mounted them onto a base of Whisper White, but felt this would be too plain so introduced an additional layer of Bermuda Bay. Our card base is Real Red, which I think contrasts beautifully with the Bermuda Bay.

To finish the card off and give it a bit of dimension, we stamped onto Basic Black and heat embossed it in white. My boys went on to drop little stick men parachuting from their helicopter – which is so cute!

Are you a colouring person?

Best Wishes,
Suzanne

Colours Used:

WayToGo

Supply List:


Real Red Santa Sack

071018 - Real Red Santa Sack

Ho! Ho! Ho! Could I pull of being Santa? No? Ok, I’ll stop. But what I won’t stop doing is making these GORGEOUS Santa Sacks. In the Autumn / Winter Catalogue this year, the inclusion of the Santa Bags instantly made my eyes light up. They are absolutely adorable and so easy to stamp on.

I decided to change the string on mine so that I could include a co-ordinating ribbon. They are so cute when plumped up with items – a handy size for sweet treats, smellies, bath salts / bombs?

Now I’m off to make some more, I’m addicted!

Best Wishes,
Suzanne

Supply List: 

Sweet Candy Cane

40232967_1066322863517568_5908966845641129984_n

OK, I succumbed and the ‘C’ word that many try to avoid has drawn me in and I’ve already started dabbling with my Christmas related supplies. I love Christmas, I love the colours involved and the lead up to it and of course, I love the sweet treats involved.. and who doesn’t love a Candy Cane? My children certainly do!

Of the Christmas supplies I have purchased, this is the first one that I reached for. I love a project that involves a punch – they’re quick, they’re simple and very easy to make multiples if necessary. This card combines another of my favourite things to do – stamp my own backgrounds. The Candy Cane Season set has stamps which make brilliant backgrounds and this is showcased on this card to perfection.

A quick and simple card which can be brought together in minutes.

Best Wishes,
Suzanne

Supply List: