Do you often find that making a masculine card is more difficult than making one for a female recipient? I know I do. I try to set myself a challenge that 1 in every 10 cards must be purposely masculine – this way I’ve always got a masculine card for when I need it. I will confess, it’s no easy challenge.
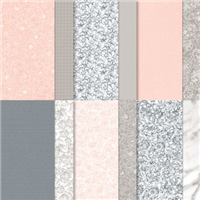
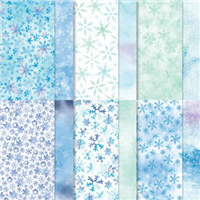
I start by looking through the Designer Series Paper (DSP) available to me in my collection and pick out any masculine patterns. This particular one is from the Peony Garden DSP and the pattern meant I could let that be the focus of the garden with a simple sentiment to finish it off.
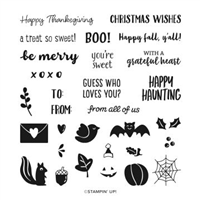
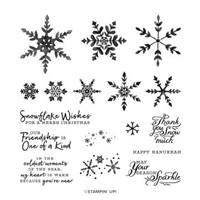
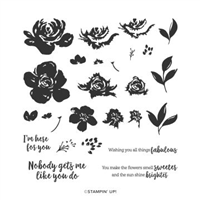
The sentiment is from a great stamp set called ‘Banner Year’, it includes many different images and sentiments to suit all occasions – including the little heart, which is so cute! I then finished it off with my favourite embellishment in this year’s Autumn Winter Catalogue – the iridescent pearls!
What do you think? Do you make many masculine cards?
Best Wishes,
Suzanne
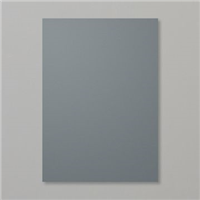
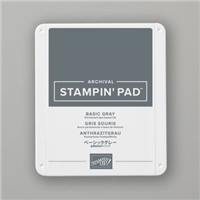
Colours Used:

Supply List: