Birthday Party Live – Project #2
Yesterday evening, the second of my Birthday Party Live events took place over on my Facebook page – if you missed the video, you can view this here on my blog or over on my Youtube challenge. Thank you to those of you who watched and showed your support, it is much appreciated.
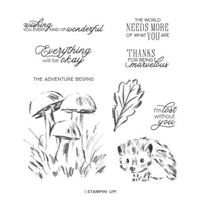
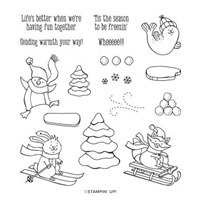
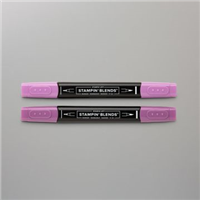
During my first live stream, we made 5 incolor notecards and I mentioned a box to house the notecards and their envelopes. Of the five colours to choose from, I went with Magenta Madness – as someone who doesn’t really like pink, this colour is amazing! To keep in with the theme of the cards, I decorated the front in the same design as the cards.
The notecards fit perfectly inside with their envelopes and make the perfect gift or craft fair item. With a switch of the sentiment, they could suit any occasion too!
** Don’t forget to take part in my Birthday Party Giveaway **
Good Luck!
Best Wishes,
Suzanne
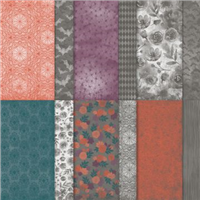
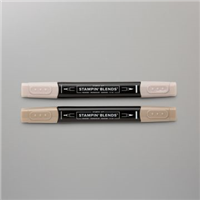
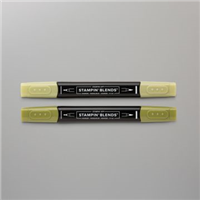
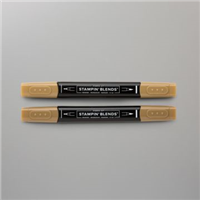
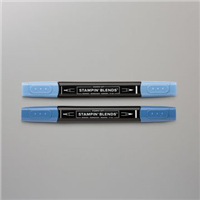
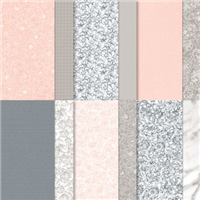
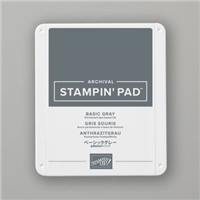
Colours Used:

Measurements:
- Box Base = 91/4 x 63/8 inches
- Front Image = 3 x 3 inches
- Sentiment = 13/4 x 11/4 inches
Scoring:
- Long side (91/4): 1/2, 11/2, 47/8, 57/8
- Short side (63/8): 1/2, 11/2 (both sides)
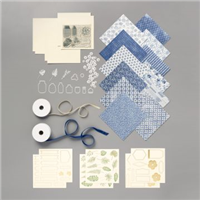
Supply List: