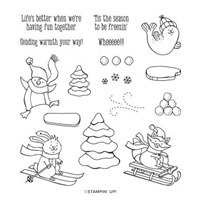
I am so sad to be seeing this bundle retire, although expected it’s still sad to say goodbye to these gorgeous characters. I’m such a fan of cute character stamp sets, especially ones that I can colour in with blends. My children love crafting with me and these sets are always a hit with them.
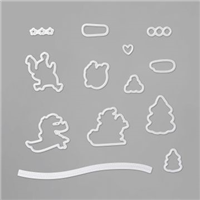
So that I could play with this set one last time, I decided that my final Simple Sunday of 2020 would feature the Freezin’ Fun bundle – like I needed an excuse! I featured the bunny in my sample card, but then the penguin in my video and I just love how both of them finished up.

In true Simple Sunday style, I have created my project within a 3 x3 inch square, which is then mounted onto a Whisper White base. Which hopefully shows you just how easy it is to bring a card together, without many supplies.
I hope you like it.. Will you be sad to see this set go too?
Best Wishes,
Suzanne
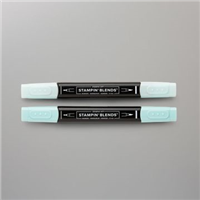
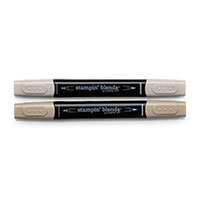
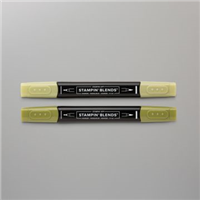
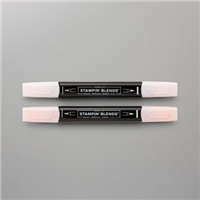
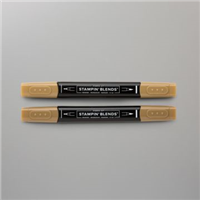
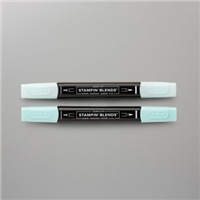
Colours Used:
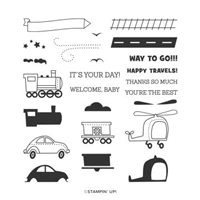
Supplies: