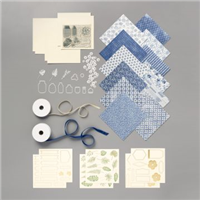
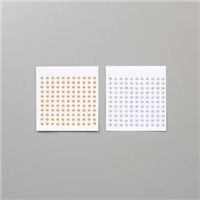
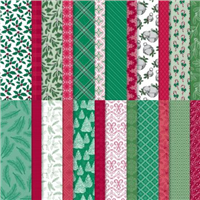
Welcome to my new Sunday series, affectionately known as Simple Sunday! The aim of this series is to showcase projects using minimal supplies, ideal for the beginner crafter or someone new to Stampin’ Up! Each project is a white card base with a 3×3 panel decorated using a single stamp set or die set. This week’s project features part of a product medley that you can purchase from the Annual Catalogue.
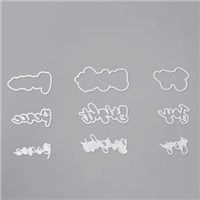
The great thing about Stampin’ Up! is they have all crafting skill levels covered, from beginner right through to avid crafter. They think about those who may have just started their crafty hobby and so don’t have much in their stash. Boho Indigo is one of those times. Whilst my Simple Sunday has focused on just the stamp set and one of the pop outs that comes with the medley; it contains so much more including dies, designer series paper, embossed paper and ribbon. Perfect for all levels of crafting!

This video is a very short video, designed with the purpose that should you need a quick make you can re-watch this video. With barely under 5 minutes of total make time, you would be able to whip multiples of this card up in no time!
Did you spot the medley in the Annual Catalogue, you can find it on page 9.
Best Wishes,
Suzanne
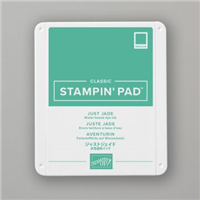
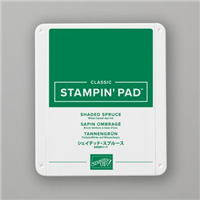
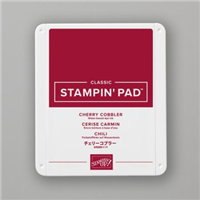
Colours Used:
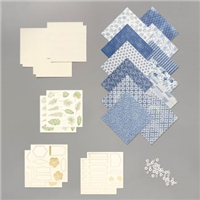
Supplies: