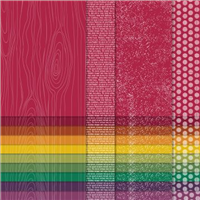
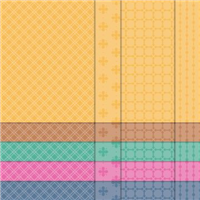
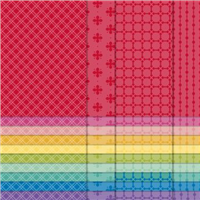
Whoop! Everyone loves a project with something that shimmers, right? I know I do. What’s more, it’s one of the new colours and it uses a full sheet to showcase the gorgeousness (that’s a word) of the paper. The new Incolor Shimmer paper is beautiful and whilst my photos don’t quite capture just how beautiful it is, my video certainly does – so be sure to watch it!

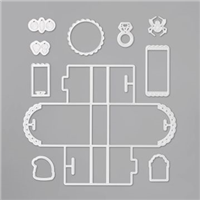
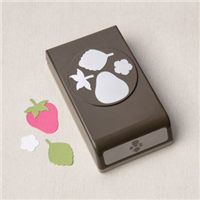
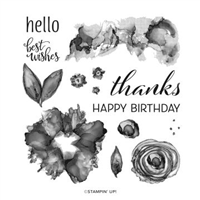
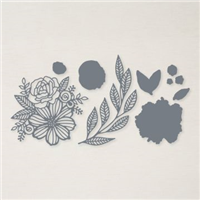
The colours within the new 2021-2023 Incolors are absolutely gorgeous and so no great work is required to make a project look stunning – I decided to team mine up with the Artistic Dies and the Tailor Made tags, keeping them as basic as possible to let the paper do all the talking.
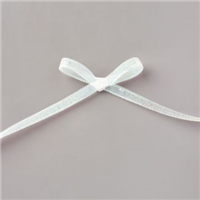
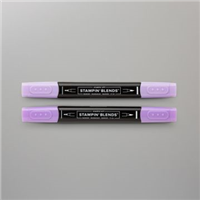
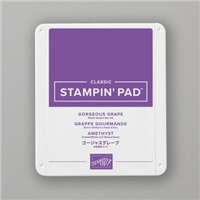
To help stick the gorgeous leaf motif from the Artistic dies, I used the Adhesive Sheets. It prevents all the mess that can be made when trying to get liquid glue in the right places. Then to give the label a bit of ‘pop’ and tie it in with the colour scheme, I’ve added some of the co-ordinating ink around the edges with a blending brush.

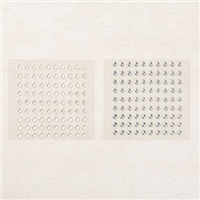
…and no bag is finished without some bling on there, so the Silver and Clear Epoxy essentials give it a gorgeous finish. In the video I make a Pale Papaya version – which do you prefer?
Best Wishes,

Details below are for the colours and products used in my project today. Please remember, if you purchase from my store to add the host code (displayed in the top right sidebar) for orders under £150.
Details below are for the colours and products used in my project today. Please remember, if you purchase from my store to add the host code (displayed in the top right sidebar) for orders under £150.
Colours Used:
Measurements:
- Designer Series Paper = 6 x 6 inches
- Belly Band = 6 x 11/2 inches
- Scrap for stamping & flowers
Scoring:
- Notch @ 2, 3, 4 inches on all four sides.
- Join the notches each with a score line diagonally (see video)
Supply List:


Please take the time to follow my blog, subscribe to my Youtube channel or visit me over on Facebook at Crafty Hullahbaloo, where you can share your inspiration too.