Hands up, how likes an abnormal shaped box? Or something that is a little different to the norm? Well, today’s project is certainly along those lines. Now I’m not the first person to make a box like this, and I’ve seen far too many to credit a single person. So I thought I’d try my own version – these are quite a large size, and will fit a good quantity of treats.
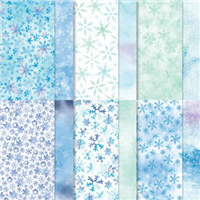
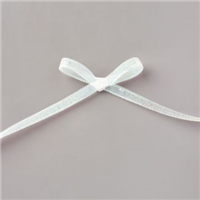
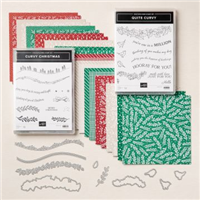
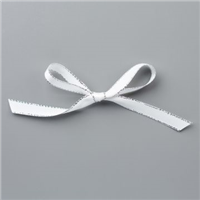
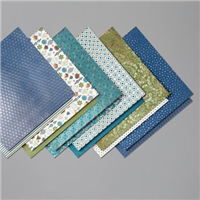
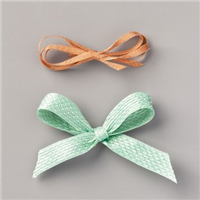
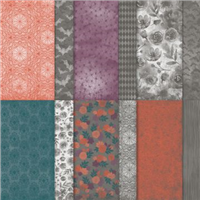
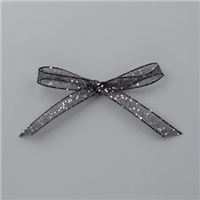
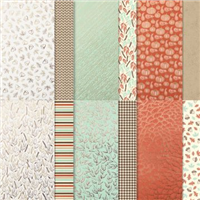
I haven’t used the Snowflake Splendor Designer Series Paper (DSP) in a while and it is such beautiful paper, that I reached out for it again. The colours are absolutely gorgeous and so is the matching ribbon. The picture below shows the iridescent sheen to the ribbon, which makes it sparkle against any project.

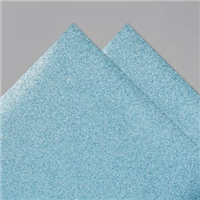
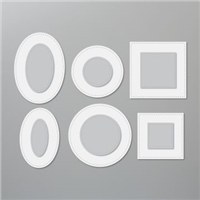
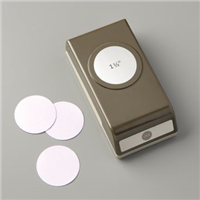
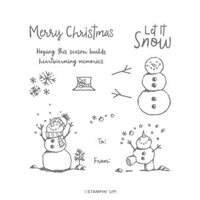
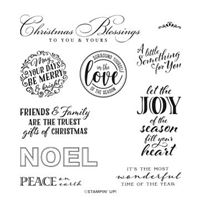
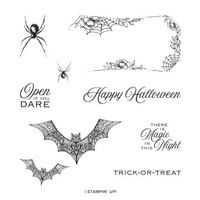
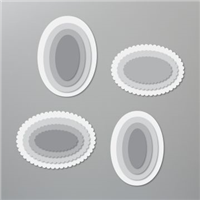
I finish my project off with a tag made from Balmy Blue glimmer paper and a Whisper White stitched circle. The stamp is from the cute Snowman Season stamp set and finished the label well.
Which pattern do you prefer – the watercolour ombre one or the snowflakes?
Best Wishes,
Suzanne
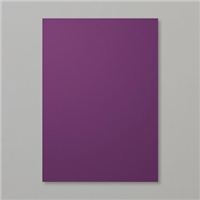
Colours Used:
Measurements:
- Designer Series Paper = 111/2 x 61/2 inches
- Whisper White Scrap
- Balmy Blue Glimmer Scrap
Scoring:
- Long Side Full Scores = 23/4, 51/2, 81/4, 11 inches
- Short Side Full Scores = 23/4 inches
- Long Side Partial Scores = 13/8, 41/8, 67/8, 95/8 inches
Supplies: