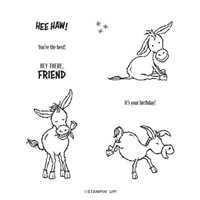
This is a warning – this stamp set may appear so many times between January and June that I might just annoy you a little with it! I’ve already got two projects lined up in January and more on the way!
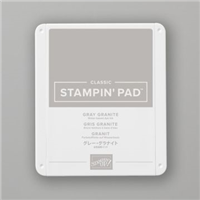
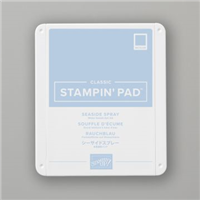
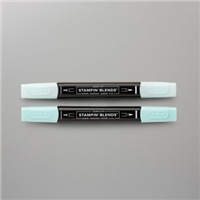
But, just look at how cute this little elephant is? He was the first stamp that I used from my demonstrator pre-order, I simply stamped him and went from there. He’s coloured with blends in this project – Grey Granite and Balmy Blue to be exact. To allow him to pop off the card, he’s been fussy cut and popped on dimensionals.

I don’t have anyone to gift this card to just yet, but it’s a perfect one to have ready in my card stash if / when a baby boy is born.
Best Wishes,
Suzanne
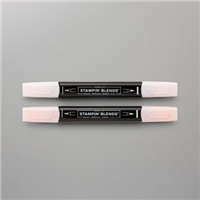
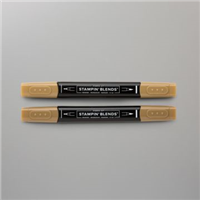
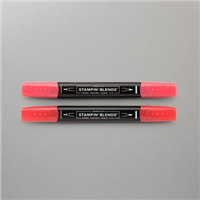
Colours Used:
Supplies:
Come back for these after the 5th January and they will be live!