Oh So Sweet Ombre

It’s sneak peek time! First up I wanted to showcase one of the gorgeous papers available in the Sale-a-Bration brochure and one of several options when you place a qualifying order over £45 / 60 €. Technically, this project contains two items available in the brochure, but the main focus of today is on the gorgeous ‘Oh So Ombre’ Designer Series Paper.

The paper pack has 4 different colours in it; Bermuda Bay, Blackberry Bliss, Granny Apple Green and Rococo Rose (see video for a peek at these!) and has 2 designs in each colour – which are absolutely gorgeous. All four are amongst my faves from the Stampin’ Up! colour families.

My project today is inspired by a treat box that Pootles first made approximately 5 years ago using the envelope punch board. Unfortunately, the punch board is now retired and so I wanted to find a way in which I could still make a treat box that looked the same, but only used a score board.

After a bit of playing with different techniques and measurements, I hit the jackpot and found the perfect technique for making boxes like this – please watch the video and you will see how easy the scoring is!

And look at the finished result, sweet and simple – just how we like our projects!

Best Wishes,
Suzanne

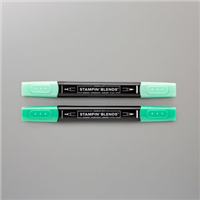
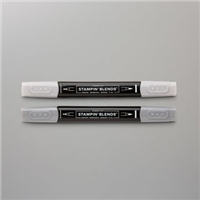
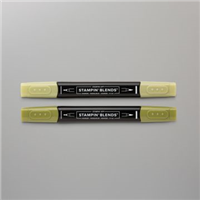
Colours Used:

Measurements:

  • Designer Series Paper = 6 x 6 inches
  • Whisper White Scrap

Scoring:

  • One corner of the DSP at the 41/4 inch mark, with a second corner touching the left of the scoreboard (see video for more details).
  • Score at 2 and 3 inches.

Supplies:

Come back for these after the 5th January and they will be live!

Way to Go!

WaytoGo_Pic

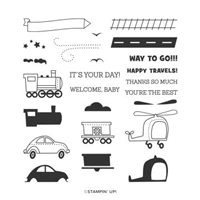
Some evenings, my children and I like to stamp images which can be coloured in with Stampin’ Up! blends and just spend some time colouring together. This card uses the ‘Moving Along’ stamp set and a set of images based on vehicles. We spent some time colouring them and adding bits of details such as tracks, roads and stars (which double up as steam from the train – because why not?!).

We cut the vehicles out separately and mounted them onto a base of Whisper White, but felt this would be too plain so introduced an additional layer of Bermuda Bay. Our card base is Real Red, which I think contrasts beautifully with the Bermuda Bay.

To finish the card off and give it a bit of dimension, we stamped onto Basic Black and heat embossed it in white. My boys went on to drop little stick men parachuting from their helicopter – which is so cute!

Are you a colouring person?

Best Wishes,
Suzanne

Colours Used:

WayToGo

Supply List:


Twinkle Twinkle Bag


40363721_519556445155944_950165367102111744_n.jpg

Ahhhhhhh, how cute is the elephant in this stamp set? I absolutely adore it and the best part – it comes with a baby elephant too! Now of course, you can’t have a baby elephant without making something baby related.. and that’s what I’ve done here.

Originally, this was meant to be a 4″ x 4″ x 4″ box with a lid. But as you’ll see from my video, that quickly changed when I randomly pitched the box base and turned it into a wide bag. It’s amazing how these ideas come to you at the most random times.

A full punched holes and some gorgeous striped ribbon and we have a bag that can house a fair number of sweet treats for mum, booties or bibs for baby or even a mixture of the two?

Best Wishes,
Suzanne

PDF Tutorial:

020918 – Twinkle Twinkle Designer Series Paper Bag

Supply List: