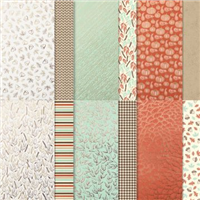
Who loves Autumn and the latter part of the year? I know I do. The colours, the cosy nights, the lead up to Christmas. The Gilded Autumn suite is a great hit of everything that’s gorgeous about that period. With gorgeous copper ribbon, brushed metallics and leafy patterns, the suite screams Autumn before you even read the title of it.
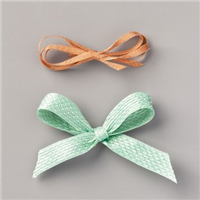
Yesterday, on my Facebook Live, I showed this gorgeous bag. Ideal for thank you gifts, table favours or perhaps treat bags full of goodies. The ribbon keeps the bag closed by wrapping back on itself – no punch holes required. Which means you don’t have to tie / untie it repeatedly either – score!
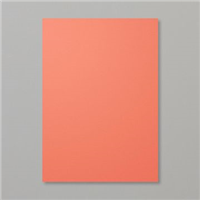
The bag is a good size too, 6 inches in height by 31/2 wide by 2 inches deep. Plenty of space to fit lots inside. The paper I used on the sample in the photo above is Mint Macaron, with the one in my video made using a Cajun Craze pattern. Both are stunning designs, which is why I chose to showcase them in the way I have.
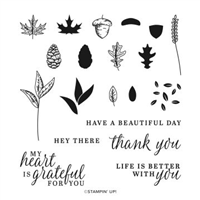
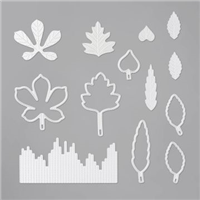
The fussy cut stitched leaf acts as a tag on the bag, whilst acting as decoration, it doesn’t take away from the gorgeous paper being used. The Stitched Leaves dies are utterly gorgeous and you’ll see them make more appearances on my blog!
Best Wishes,
Suzanne
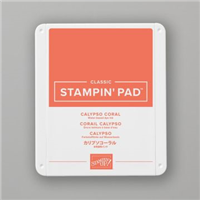
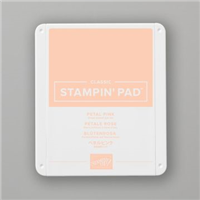
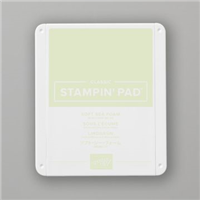
Colours Used:

Measurements:
- Designer Series Paper = 111/2 x 10 inches.
Scoring:
- Long Side (111/2) = 2, 51/2, 71/2 and 11 inches.
- Short side (10) = 2 and 8 inches.
Supply List: