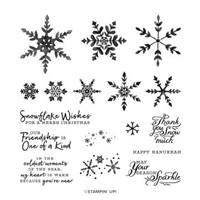
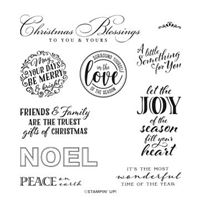
Teeny tiny projects are the best, they’re so cute and are really good for the craft supplies! This cute little book fold box was cased from Pootles, with some changes to the measurements and the design. It fits two mini Green & Blacks chocolates, one in each half of the holder.
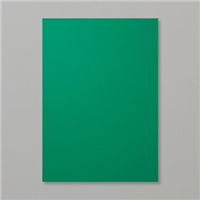
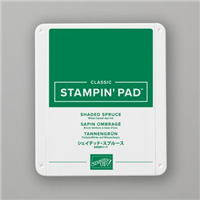
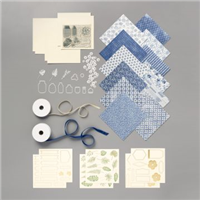
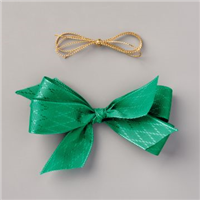
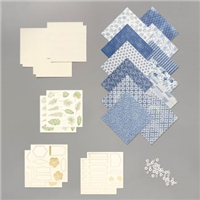
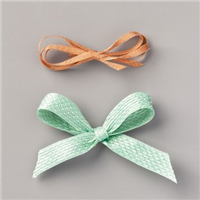
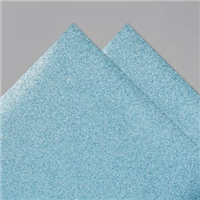
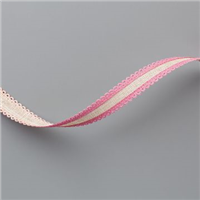
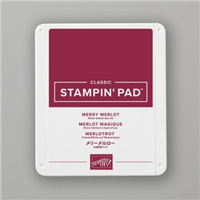
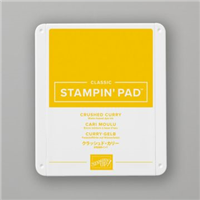
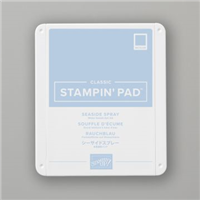
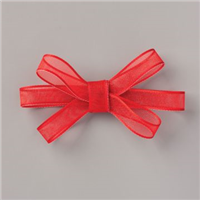
Using leftover elements of my Wrapped in Christmas project kit, I made a contrasting Shaded Spruce & Real Red version. The ribbon is absolutely gorgeous and ties the best bows!
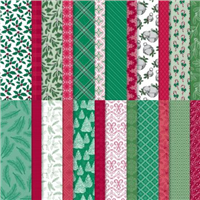
With the paper in the Project Kit, you could make approximately 80 of these as gifts. Or approximately 70 if you make the projects included both in the box and the video mini series!
I hope you enjoy this project!
Best Wishes,
Suzanne
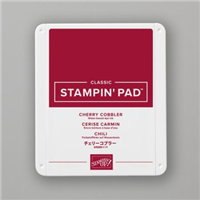
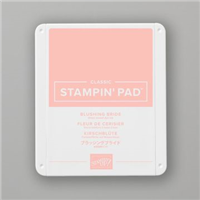
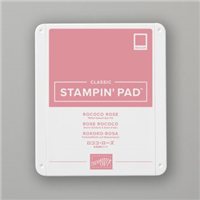
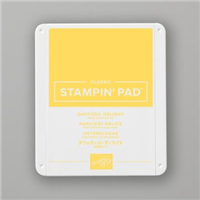
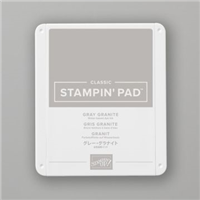
Colours Used:
Measurements:
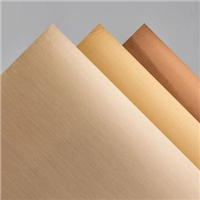
- Cardstock = 41/2 x 9 inches
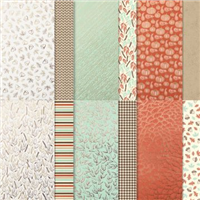
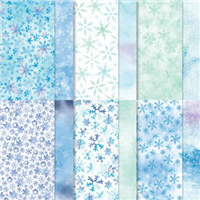
- Designer Series Paper
Scoring:
- Long Side (9) = 1/2, 1, 21/4, 23/4, 4 inches on both sides
- Short Side (41/2) = 1/2, 1 inches on both sides
Supply List:
Sale: £9.14
Price: £10.75