Etched in Ombre

I love trying out new techniques, but then I also have a set of techniques I like to keep going back to as part of my card making. As part of an event that Stampin’ Up! held in April for Demonstrators, we had to make a swap with the stamp set ‘Etched in Nature’. I loved the sketchy nature of the stamps, but wanted to make a card focused around the butterfly.

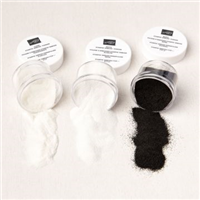
Heating embossing with white and then blending over the top is just a gorgeous look, no matter what stamp set or colours you use. It picks how the detail on the butterfly really nicely – isn’t it gorgeous?

Disclaimer: Unfortunately, the stamp set used on this card has since been withdrawn (perhaps only temporarily) due to quality issues. Stampin’ Up! believes in only selling items that continue to meet their high standards.

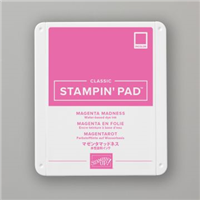
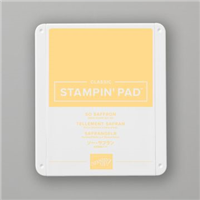
The background is blended from Misty Moonlight, Magenta Madness & So Saffron to create the gorgeous ombre effect seen. My inspiration being a sunset in a tropical location – just as the sun is disappearing below the horizon.

And to pop the sentiment away from the background, I use my ever faithful white embossing on black with just the most beautiful sentiment “When being together is more important than what you do, you’re with a friend”, which I think is very poignant given the past 12 months the world has been through.

What is one of your favourite techniques on a card? Tell me in the comments below.

Best Wishes,

Details below are for the colours and products used in my project today. Please remember, if you purchase from my store to add the host code (displayed in the top right sidebar) for orders under £150.

Details below are for the colours and products used in my project today. Please remember, if you purchase from my store to add the host code (displayed in the top right sidebar) for orders under £150.

Colours Used:

Supply List:

Please take the time to follow my blog, subscribe to my Youtube channel or visit me over on Facebook at Crafty Hullahbaloo, where you can share your inspiration too.

Blended Butterflies

Welcome to my Butterfly Bouquet spotlight week – this week will feature 7 video tutorials posted back to back to spotlight this early release collection from the 2021-2022 Annual Catalogue. The collection is made up of several components – Stamps, Dies, Designer Series Paper (DSP) and Specialty Paper.

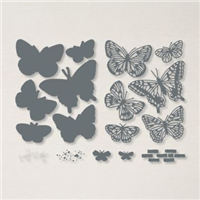
It’s time to get a bit messy / creative as today I have been blending with brushes using a mask. I was inspired by this idea following a craft session making tomorrow’s box. A leftover section of tomorrow’s project works really well as a mask, but needed to be a little bigger so I set off making another. Using the dies from the Brilliant Wings set (which forms part of the Butterfly Bouquet collection), I used the largest butterfly to make my mask – be sure to make it large enough that you don’t risk blending off the mask like I did (see my video).

On Monday, I used my blending brushes with three colour – Magenta Madness, Misty Moonlight & So Saffron, so I stuck to that colour choice for today’s project too. They go together so well, so as they say “why fix what isn’t broken?”. The colours blend beautifully together and get a lovely sharp edge thanks to the mask.

Finishing off the card with some contrast by heat embossing a sentiment in white onto black cardstock gives it a great finish, with some matte black dots of course! I love it…and the best thing about it? You will never get two cards the same because of the blending technique used.

In my video I did a bright version and a more subtle version, which did you prefer?

Best Wishes,
Suzanne

Supply List:

Paper Wishes

Welcome to my Butterfly Bouquet spotlight week – this week will feature 7 video tutorials posted back to back to spotlight this early release collection from the 2021-2022 Annual Catalogue. The collection is made up of several components – Stamps, Dies, Designer Series Paper (DSP) and Specialty Paper.

Are you enjoying my showcase so far? I think this collection is absolutely gorgeous, so I hope you are taking inspiration from the projects I have made. Today is project number 4 and I thought I would mimic the layout of one of the Designer Series Paper layouts to form a card front, except onto a different background. As you will see in my video, I use the large die from the Brilliant Wings set to help form the layout and act as a template for placing the butterflies down.

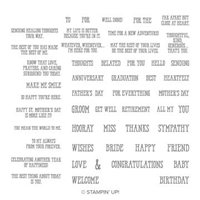
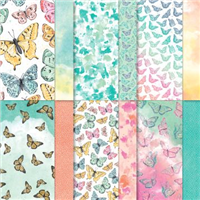
Of the Ombre / Watercolour designs, I really love the one that looks almost like a rainbow effect so chose that one as the focus of my background. When you have such subtle colours like the ones in the Designer Series Paper (DSP), something needs to be added that ‘pops’ off the page. For me, that had to be the sentiment and the Well Said stamp set lends itself well to singular word placement.

I chose to emboss my sentiment to get that ‘pop’ off the page, bringing in the contrast of white on black. This one is based on a birthday, but the Well Said stamp set means you could adapt this to any occasion – it has so many singular words and phrases, it is definitely a great set to have amongst your stash.

Which project has been your favourite so far? I hope you’ll join me again tomorrow!

Best Wishes,
Suzanne

Measurements:

  • Card Base = 81/4 x 57/8 inches (scored at 41/8)
  • Designer Series Paper = 37/8 x 55/8 inches
  • Basic Black Scrap

Supply List: