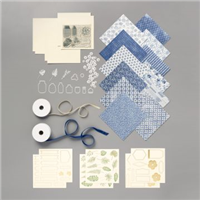
I enjoy making unusual shape boxes – anything that isn’t square or rectangular. I also love making big boxes that can house lots of treats and goodies. This box was meant to be a flat bottomed, tall box with a hexagonal top to it. However, when making the net of my sample, I got the idea to turn both ends into the same.
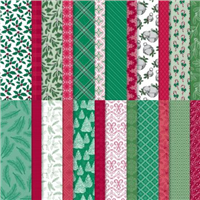
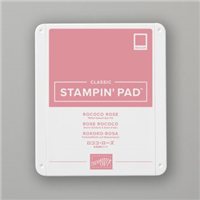
On my second version, I switched things up a little by using ‘Tis the Season Designer Series Paper to make a Christmas version. The paper is absolutely gorgeous and so many designs to choose from – I went for a Cherry Cobber candy cane pattern.
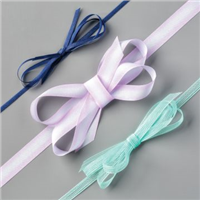
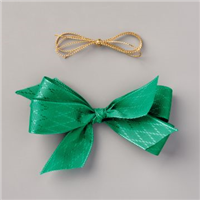
My most favourite part is the gold cord that I used to tie up the two ends of the box. I’ve always loved cord to tie boxes and bags together, it is so forgiving when tying bows and is easy to untie to gain access to the contents.
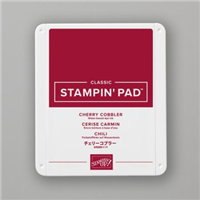
Which colour do you prefer – the Night of Navy or Cherry Cobbler?
Best Wishes,
Suzanne
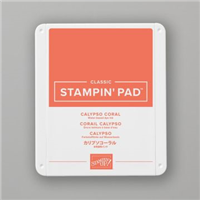
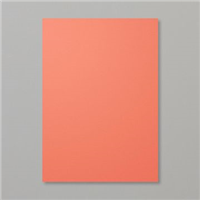
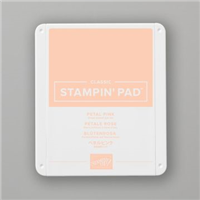
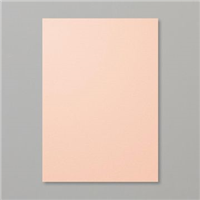
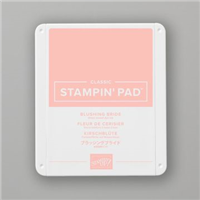
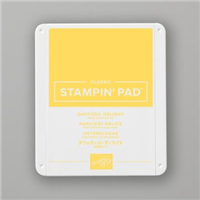
Colours Used:
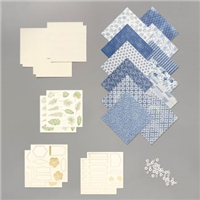
For Boho Indigo version:

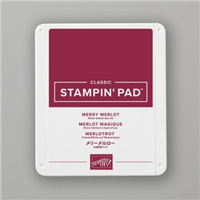
For ‘Tis the Season version:

Measurements:
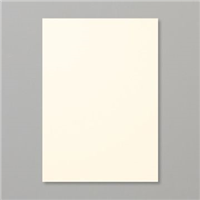
- Cardstock = 73/4 x 11 inches
- Designer Series Paper (6 pieces) = 11/2 x 4 inches
Scoring:
- Long side (11) = 13/4, 31/2, 51/4, 7, 83/4, 101/2 inches
- Short side (73/4) = 13/4 inches on both sides
Supply List:
For Boho Indigo version:


For ‘Tis the Season version: