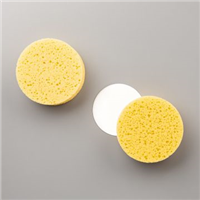
I love trying out new techniques and whilst I have done sponging before, I’ve never paired it up with masking at the same time. So I thought I would give it a shot! The moon on this card was masked prior to sponging the gorgeous shades of blue background, to give the effect of a night sky and I absolutely love the results!
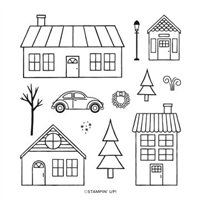
I teamed my background up with the Coming Home stamp set, using blends to colour in the images (of course!) and then layered them up on the front to create a cute little scene. I am such a fan of these little houses and trees.

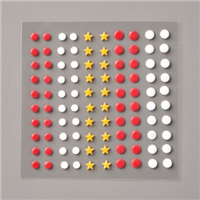
When I had finished the scene, I picked a message from the Peace & Joy stamp set and finish the night sky with the little stars from the All the Trimmings embellishments. Which I think finishes the card front off perfectly! What do you think?
Best Wishes,
Suzanne
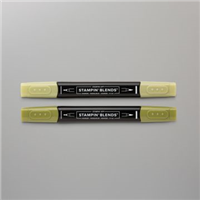
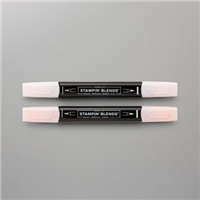
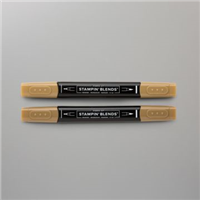
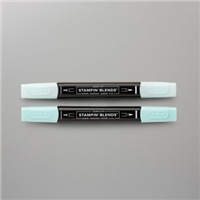
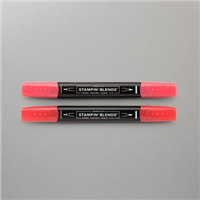
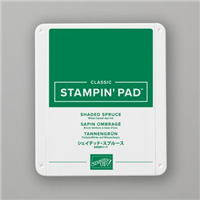
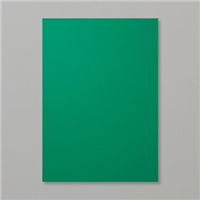
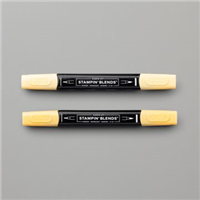
Colours Used:
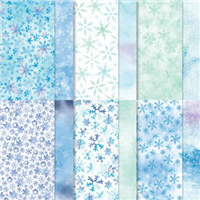
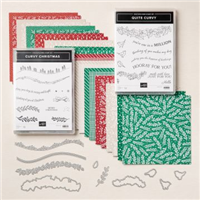
Supplies: