Shimmering Incolor Birthday

Whoop! Everyone loves a project with something that shimmers, right? I know I do. What’s more, it’s one of the new colours and it uses a full sheet to showcase the gorgeousness (that’s a word) of the paper. The new Incolor Shimmer paper is beautiful and whilst my photos don’t quite capture just how beautiful it is, my video certainly does – so be sure to watch it!

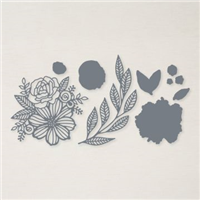
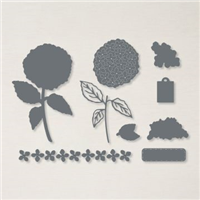
The colours within the new 2021-2023 Incolors are absolutely gorgeous and so no great work is required to make a project look stunning – I decided to team mine up with the Artistic Dies and the Tailor Made tags, keeping them as basic as possible to let the paper do all the talking.

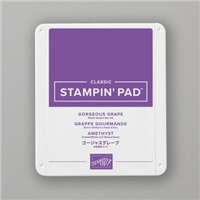
To help stick the gorgeous leaf motif from the Artistic dies, I used the Adhesive Sheets. It prevents all the mess that can be made when trying to get liquid glue in the right places. Then to give the label a bit of ‘pop’ and tie it in with the colour scheme, I’ve added some of the co-ordinating ink around the edges with a blending brush.

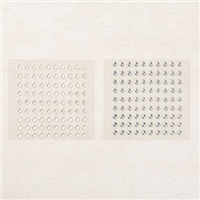
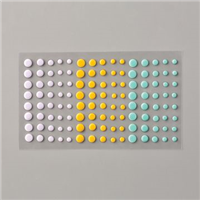
…and no bag is finished without some bling on there, so the Silver and Clear Epoxy essentials give it a gorgeous finish. In the video I make a Pale Papaya version – which do you prefer?

Best Wishes,

Details below are for the colours and products used in my project today. Please remember, if you purchase from my store to add the host code (displayed in the top right sidebar) for orders under £150.

Details below are for the colours and products used in my project today. Please remember, if you purchase from my store to add the host code (displayed in the top right sidebar) for orders under £150.

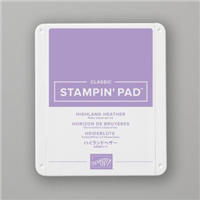
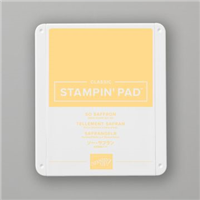
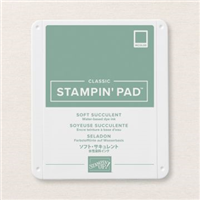
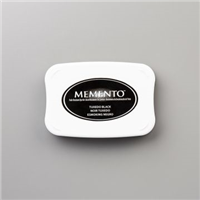
Colours Used:

Measurements:

  • Designer Series Paper = 6 x 6 inches
  • Belly Band = 6 x 11/2 inches
  • Scrap for stamping & flowers

Scoring:

  • Notch @ 2, 3, 4 inches on all four sides.
  • Join the notches each with a score line diagonally (see video)

Supply List:

Please take the time to follow my blog, subscribe to my Youtube channel or visit me over on Facebook at Crafty Hullahbaloo, where you can share your inspiration too.

Flowering Perfection

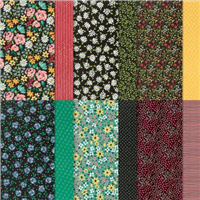
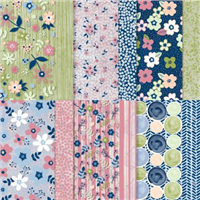
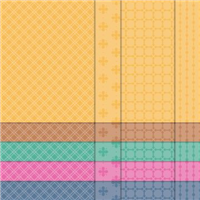
This Designer Series Paper (DSP) didn’t look as brilliant in the catalogue as it does in real life – the lesson here is to buy it if the thumbnails even slightly intrigue you. Not once has any of the products I have bought this way failed me. I’m sure you’ll agree by watching my video below, this paper is absolutely gorgeous!
I love the contrast of the bright colours against the black background, and I also love that the papers (and the stamp set) are one of the many options you can earn for FREE until the 28th February. The selection this year is one of the the best I have seen in my time as a demo! I’m not sure what the project I made is considered a box or a bag, but I love it nonetheless. They can store flat too, so for those who may mass produce them for sending treats or products, they can make them in advance and store them with minimal space required.

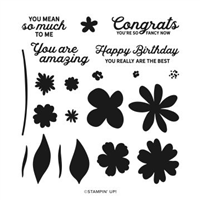
And don’t get me started about how good this stamp set is – I find myself reaching for it all the time. Just like the paper it is one of the choices available for FREE during Sale-a-Bration.

Have you chosen either of these as part of your freebies?

Best Wishes,
Suzanne

Colours Used:

Measurements:

  • Basic Black = 81/4 x 113/4 inches
  • Designer Series Paper (2 pieces) = 4 x 4 inches
  • Basic White Scrap

Scoring:

  • Long Side (113/4) = 3/4, 47/8 inches on both sides
  • Short Side = 2 inches on both sides

Supplies:

Origami Blooms

You know when you sit down at your craft table with a project in mind, but then something just doesn’t go quite right so you end up with something completely different? Well that’s what happened here, a misjudged measurement meant the project took a very different turn and ended in something else, equally beautiful.

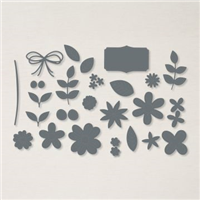
The project gave me the opportunity to use the pierced blooms dies again, which now I have them, I cannot stop using. They’re the perfect addition to any project and coincidentally co-ordinate with the FREE Paper Blooms Designer Series Paper (DSP) that I chose.

Also I’ll let you into a little secret, I personally prefer the version I made in the video, especially because I manage to tie a gorgeous bow on camera!

Have you ever had a project that went wrong, but then you preferred the end result?

Best Wishes,
Suzanne

Colours Used:

Measurements:

  • Designer Series Paper = 12 x 12 inches
  • Scraps of Petal Pink, Soft Sea Foam, Basic White, Night of Navy, Seaside Spray, Rococo Rose, Old Olive.

Scoring:

  • Side 1 = 3 and 6 inches
  • Side 2 = 41/2 and 71/2 inches

Supplies:

Hydrangea Happy Pouch

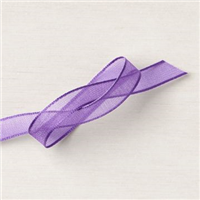
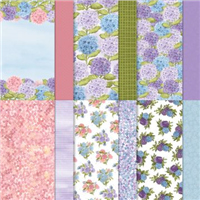
Stampin’ Up! really do design and make some absolutely gorgeous suites and thanks to the colour families they have, the embellishments and ribbon etc are always the most divine colour ways. The Hydrangea Heaven suite has to be one of the best examples for this in my opinion – I’m a purple fan, so this really floats my boat!

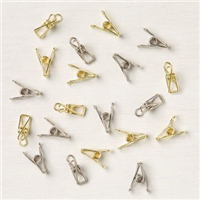
The papers are beautiful designs featuring Hydrangeas, with this pattern in particular grabbing my attention for a more subtle project. Of course, I also included the Clever Clasps which if you don’t look carefully in the Mini Catalogue you may miss entirely!

Isn’t the paper just divine? And I’m so happy about Stampin’ Up! bringing a clasp / clip back into the catalogue. I miss the pegs / clips from previous years as they’re such an easy and quick way to close a bag without struggling to tie a bow.

Did you spot the Clever Clasps in the catalogue?

Best Wishes,
Suzanne

Colours Used:

Measurements:

  • Designer Series Paper = 91/2 x 63/4 inches
  • Basic White scrap

Scoring:

  • Long side = 11/2, 41/2, 6, 9 inches
  • Short side = 11/2 inches

Supplies:

Happy Birthday, Slim

We all love an easy project, right? Something that we can pull together in a moments notice if a last minute need crops up. Well this is perfect for exactly that reason. A full 12 x 12 sheet of Designer Series Paper (DSP) is used to create this tall slim bag, which can be made up in minutes ready for filling and a label being added.

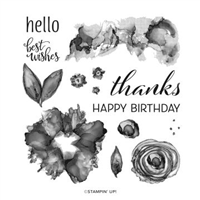
The label is made from two stamps from the You are Amazing stamp set – which I just can’t get enough of. It adds an occasion to the bag meaning you can switch it up as needed.

The paper on this particular bag is from the Paper Blooms DSP pack, which can be earned for free when purchasing £45 worth of craft goodies from the catalogue. It is absolutely gorgeous and is definitely a favourite with other demos and customers alike.

What quick and easy projects do you reach for when working against the clock? Have you placed your order from the new catalogue to earn this paper? If not, why not?

Best Wishes,
Suzanne

Colours Used:

Measurements:

  • Designer Series Paper = 12 x 12 inches
  • Whisper White Scrap = 2 x 3 inches

Scoring:

  • First side = 13/4, 53/4, 71/2, 111/2 inches
  • Second side = 13/4, 101/4 inches

Supplies:

Come back for these after the 5th January and they will be live!