Mixing and matching is a big part of the fun when crafting. Grabbing different colours, stamp sets, dies etc and bringing them together to create final project. This particular project is a great example of that – where originally I wanted to make a plaid top to sit on a box lid, but then somehow created a card front fit for a daddy’s birthday.
The Plaid Builder dies have been in my stash since the Annual Catalogue launched back in June, but have yet to be used on a project. They’re the perfect size for a card front, so when I realised the size, my plan quickly changed.

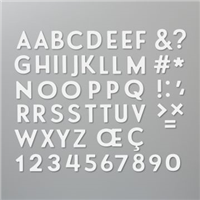
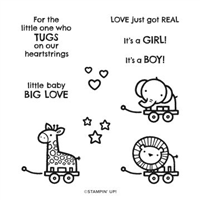
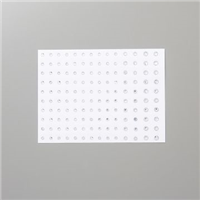
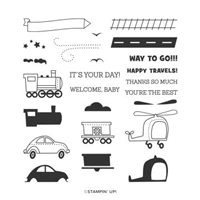
One of the dies as part of the Plaid Builder has cute little squares as off cuts, so I recycled these and paired them up with the Playful Alphabet dies to spell out ‘Daddy’ and then teamed it with the Baby Pull Toys and sets to really finish the project off. I love it!
Have you used the Plaid Builder dies? Perhaps you could join my Crafty Hullahbaloo Facebook group and share your makes?
Best Wishes,
Suzanne
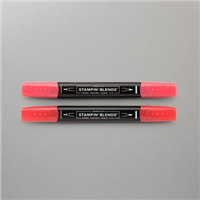
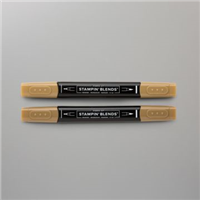
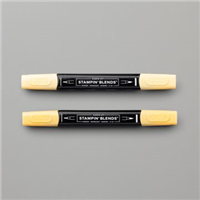
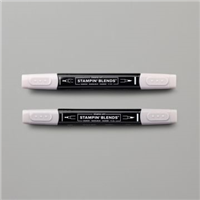
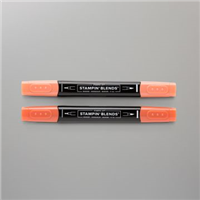
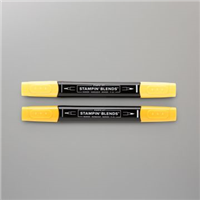
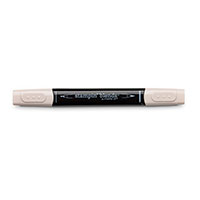
Colours Used:
Supplies: