Birthday Party Live – Project #1
Yesterday evening, the first of my Birthday Party Live events took place over on my Facebook page – if you missed the video, you can view this here on my blog or over on my Youtube challenge. Thank you to those of you who watched and showed your support, it is much appreciated.
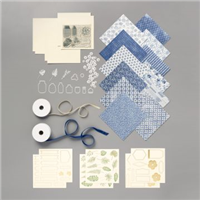
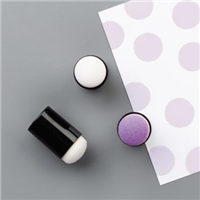
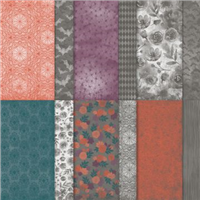
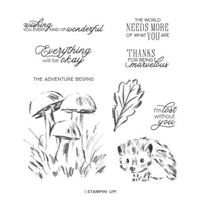
These incolor notecards came about from an idea my daughter had – a few weeks ago, I made a Penguin Winter Card using an ink technique, which she wanted to do again. However, with the small surface area that a notecard presents, she decided to use a single colour in a simple circle.
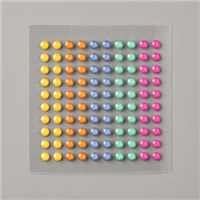
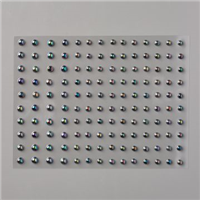
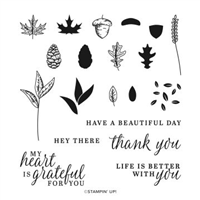
Together, we added a simple sentiment and finished them off with a resin dot. Keeping them simple and without using many resources.
** Don’t forget to take part in my Birthday Party Giveaway **
Good Luck!
Best Wishes,
Suzanne
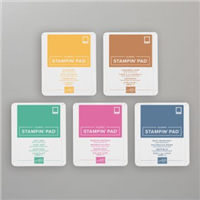
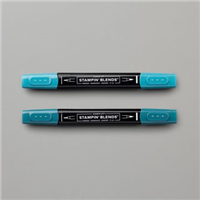
Colours Used:

Measurements:
- Card Bases = 6 x 3 inches (5 pieces)
- Whisper White = 13/4 x 11/4 inches (5 pieces)
Scoring:
- Score all 5 card bases at 3 inches
Supply List: