Welcome to my new Sunday series, affectionately known as Simple Sunday! The aim of this series is to showcase projects using minimal supplies, ideal for the beginner crafter or someone new to Stampin’ Up! Each project is a white card base with a 3×3 panel decorated using a single stamp set or die set. This week’s project features a stamp set you can earn during Sale-a-Bration between 5th January and 28th February.
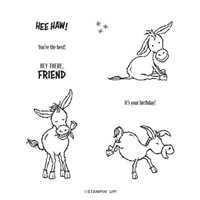
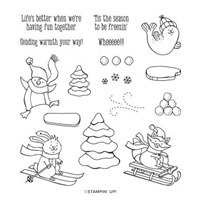
Before the catalogue has even launched, I can tell you this stamp set is going to be popular. It is already all over Pinterest with demonstrators using the set from their catalogue pre-order and you can see why! These little guys are so cute – this one in particular.

I kept this really simple by stamping the donkey, colouring him in with a few blends and fussy cutting him onto the background square. The sentiment is stamped from the same set and with the same ink used to stamp the donkey. So cute!
Will you be adding this set onto your wish list?
Best Wishes,
Suzanne
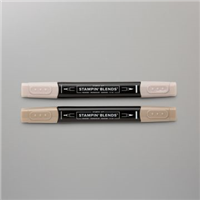
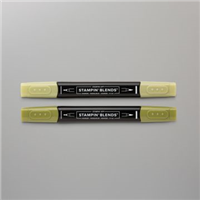
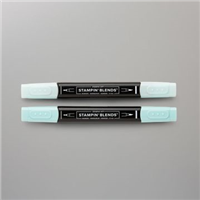
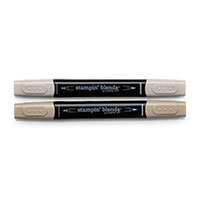
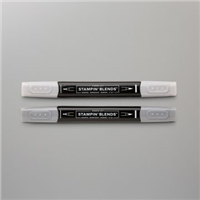
Colours Used:
Measurements:
- Card Base = 41/8 x 113/4 inches
- Front Square = 3 x 3 inches
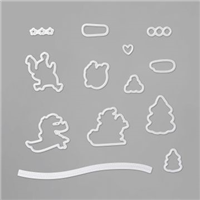
Supplies: