Simple Sunday #14 – Boho Indigo

Welcome to my new Sunday series, affectionately known as Simple Sunday! The aim of this series is to showcase projects using minimal supplies, ideal for the beginner crafter or someone new to Stampin’ Up! Each project is a white card base with a 3×3 panel decorated using a single stamp set or die set. This week’s project features part of a product medley that you can purchase from the Annual Catalogue.

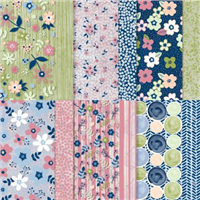
The great thing about Stampin’ Up! is they have all crafting skill levels covered, from beginner right through to avid crafter. They think about those who may have just started their crafty hobby and so don’t have much in their stash. Boho Indigo is one of those times. Whilst my Simple Sunday has focused on just the stamp set and one of the pop outs that comes with the medley; it contains so much more including dies, designer series paper, embossed paper and ribbon. Perfect for all levels of crafting!

This video is a very short video, designed with the purpose that should you need a quick make you can re-watch this video. With barely under 5 minutes of total make time, you would be able to whip multiples of this card up in no time!

Did you spot the medley in the Annual Catalogue, you can find it on page 9.

Best Wishes,
Suzanne

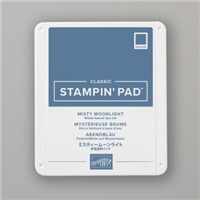
Colours Used:

Supplies:

Boho Blue

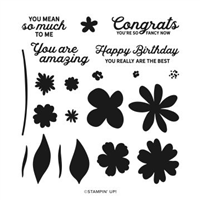
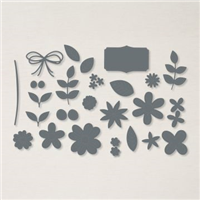
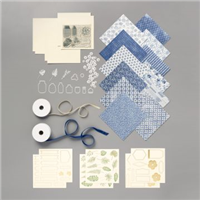
I’ve said it before and I will say it again, Product Medleys are amazing. The Stampin’ Up! Annual Catalogue offers one of my favourite ones in Boho Indigo, not only do you get everything you well need except ink and glue in a single product, but you can buy refill kits to continue making more and more and never run out. With stamps, dies, designer series paper (DSP), embossed card, ribbon & pop outs, there is lots for you to work with and make a variety of projects.

It features one of my favourite colours, Misty Moonlight and pairs it up with Very Vanilla (which isn’t featured enough in my opinion), with gold and green accents in the popups and ribbon.

So, aside from adding a couple of ink pads and picking an adhesive, you receive everything to get you going on your craft journey – perfect for beginners. If you search my website using the tag #bohoindigo you will be able to see exactly what I have made with the set!

Are you a beginner crafter that isn’t sure how to start making cards? Let me know..

Best Wishes,
Suzanne

Colours Used:

Supplies:
Origami Blooms

You know when you sit down at your craft table with a project in mind, but then something just doesn’t go quite right so you end up with something completely different? Well that’s what happened here, a misjudged measurement meant the project took a very different turn and ended in something else, equally beautiful.

The project gave me the opportunity to use the pierced blooms dies again, which now I have them, I cannot stop using. They’re the perfect addition to any project and coincidentally co-ordinate with the FREE Paper Blooms Designer Series Paper (DSP) that I chose.

Also I’ll let you into a little secret, I personally prefer the version I made in the video, especially because I manage to tie a gorgeous bow on camera!

Have you ever had a project that went wrong, but then you preferred the end result?

Best Wishes,
Suzanne

Colours Used:

Measurements:

  • Designer Series Paper = 12 x 12 inches
  • Scraps of Petal Pink, Soft Sea Foam, Basic White, Night of Navy, Seaside Spray, Rococo Rose, Old Olive.

Scoring:

  • Side 1 = 3 and 6 inches
  • Side 2 = 41/2 and 71/2 inches

Supplies:

Bright Birthdays

As part of the joining offer during Sale-a-Bration, you can earn a FREE set of Designer Series Paper (DSP). When I say set, I mean 5 PACKETS!!! of yet to be released paper from the upcoming Annual Catalogue in June. That’s right, you can get them ahead of everyone. Even demos can no longer get their hands on these, as the pre-order time period is over. So if you join my team before 28th February 2021, you can earn the paper that made this card.

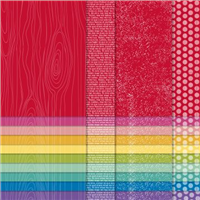
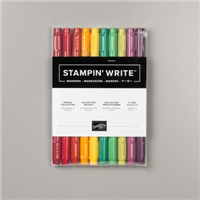
Of the five packs, I chose to go with the Brights collection. I usually fall into the trap of sticking to the Subtles or the Regals, so took a bit of a lane swerve. I love the colours that I chose, they go together so well; Pacific Point, Gorgeous Grape, Granny Apple Green and Daffodil Delight.

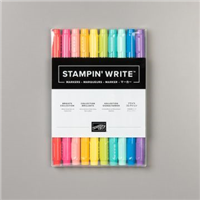
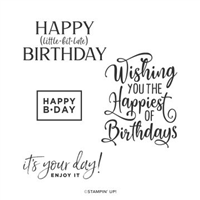
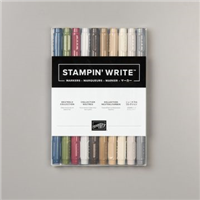
I wanted to match the stamping to the strips in the background, so used the same technique seen yesterday on my Simple Sunday series by using Stampin’ Write markers to colour sections of the sentiment. Which I think stamped rather well!

Have you seen the joining offer and been tempted? Ask me how before it’s too late!

Best Wishes,
Suzanne

Colours Used:

Supplies:

Simple Sunday #13 – Dragonfly Garden

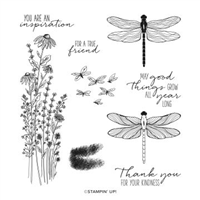
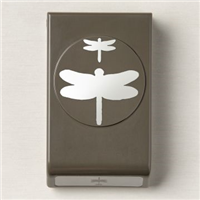
Welcome to my new Sunday series, affectionately known as Simple Sunday! The aim of this series is to showcase projects using minimal supplies, ideal for the beginner crafter or someone new to Stampin’ Up! Each project is a white card base with a 3×3 panel decorated using a single stamp set or die set. This week’s project features a stamp and punch bundle that you can purchase from the January to June 2021 Mini Catalogue.

I absolutely love a punch bundle – there’s nothing better than being able to sit there and mass produce cards / boxes with toppers that include punches. Don’t get me wrong, dies are beautiful, but I find a punch much faster and sometimes time is of the essence!

On this card, I didn’t want to use too many products as that would distract from the simple nature of the series I set out to create, but sometimes the Stampin’ Write Markers are overlooked – especially following the release of the Stampin’ Blends. So I wanted to make sure that new crafters could see that you don’t need everything right away. If you don’t have the inks, you can use the markers instead and they are cost effective to buy in bulk than the ink pads.

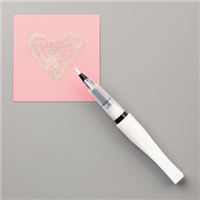
For some final dimension on this card, I lifted the dragonfly using dimensionals and coloured in the outline using Wink of Stella to bleed the ink and add some gorgeous sparkle.

What do you think? Are you going to try out the marker ink technique?

Best Wishes,
Suzanne

Colours Used:

Supplies: