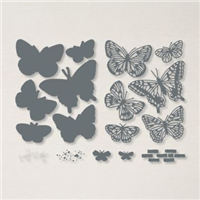
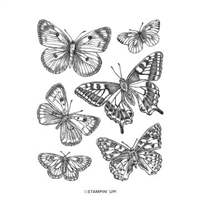
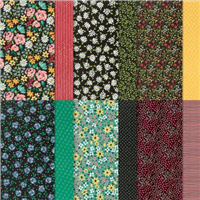
Welcome to my Butterfly Bouquet spotlight week – this week will feature 7 video tutorials posted back to back to spotlight this early release collection from the 2021-2022 Annual Catalogue. The collection is made up of several components – Stamps, Dies, Designer Series Paper (DSP) and Specialty Paper.
Are you enjoying my showcase so far? I think this collection is absolutely gorgeous, so I hope you are taking inspiration from the projects I have made. Today is project number 4 and I thought I would mimic the layout of one of the Designer Series Paper layouts to form a card front, except onto a different background. As you will see in my video, I use the large die from the Brilliant Wings set to help form the layout and act as a template for placing the butterflies down.
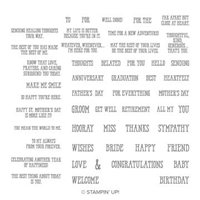
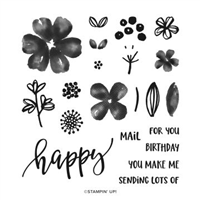
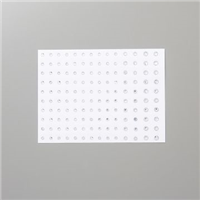
Of the Ombre / Watercolour designs, I really love the one that looks almost like a rainbow effect so chose that one as the focus of my background. When you have such subtle colours like the ones in the Designer Series Paper (DSP), something needs to be added that ‘pops’ off the page. For me, that had to be the sentiment and the Well Said stamp set lends itself well to singular word placement.

I chose to emboss my sentiment to get that ‘pop’ off the page, bringing in the contrast of white on black. This one is based on a birthday, but the Well Said stamp set means you could adapt this to any occasion – it has so many singular words and phrases, it is definitely a great set to have amongst your stash.
Which project has been your favourite so far? I hope you’ll join me again tomorrow!
Best Wishes,
Suzanne
Measurements:
- Card Base = 81/4 x 57/8 inches (scored at 41/8)
- Designer Series Paper = 37/8 x 55/8 inches
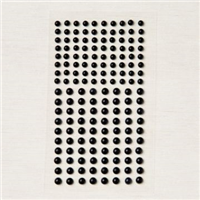
- Basic Black Scrap
Supply List: