

Whoop, Part 2 of the triangular hinge box and mini cards is here – today being the turn of the mini cards. If you didn’t catch Part 1, you can view my previous post which contains all the details of the hinge box including the video tutorial. Today’s tutorial focuses on the mini cards to fit inside the box – six of them to be exact.
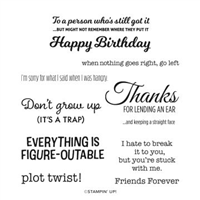
The great thing about the cards is you can change the colours and sentiment to suit any occasion. I focused on birthday cards for this particular box, but there’s nothing to stop anyone from turning them into thank you cards, invitations or cards ready for a random act of kindness. They’re such a good size you can keep them ready for any occasion.

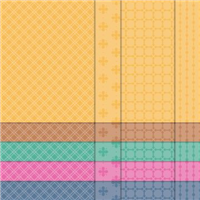
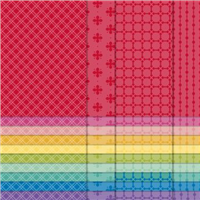
Now which colour do you prefer – the first example is Cherry Cobbler and the second is Misty Moonlight. I think I prefer the Cherry Cobbler ones, I’ve always been a fan of Cherry Cobbler and the Designer Series Paper combined with the cardstock looks brilliant.
So, which do you prefer?
Best Wishes,

Details below are for the colours and products used in my project today. Please remember, if you purchase from my store to add the host code (displayed in the top right sidebar) for orders under £150.
Colours Used:
Measurements:
- Designer Series Paper = 6 x 6 inches
- Belly Band = 6 x 11/2 inches
- Scrap for stamping & flowers
Scoring:
- Notch @ 2, 3, 4 inches on all four sides.
- Join the notches each with a score line diagonally (see video)
Supply List:
Please take the time to follow my blog, subscribe to my Youtube channel or visit me over on Facebook at Crafty Hullahbaloo, where you can share your inspiration too.